Domain SearchInstantly check and register your perfect .pk or international domain
 Web HostingGet a .pk domain for as low as PKR 467
 cPanel HostingUser-friendly hosting powered by cPanel
 Reseller HostingLaunch your own hosting business with minimal technical requirements
 Windows HostingOptimized for Windows-based applications and websites
 Affiliate ProgramEarn referral commissions by promoting our services
 WordPress HostingFast & Reliable WordPress Hosting
 Domain TransferMigrate your existing domain seamlessly with zero downtime.
 All DomainsAccess 324+ top-level domains (TLDs) worldwide from a single platform
 Whois LookupIdentify the owner of any domain using our whois and rdap lookup tool
 Managed VPS Hosting
 AI Website BuilderCreate beautiful websites effortlessly using intuitive drag-and-drop features
 Online ShopLaunch a professional online shop with no technical skills required
 BlogDiscover expert guides on hosting, websites, SEO, and digital growth strategies
 ContactGet instant assistance via live chat or email
 SupportAccess help articles, tutorials, and service documentation
 SSL CertificatesEncrypt data, build trust, and boost SEO.
To start a freelance website, you only need to choose a service you can sell, pick a clear niche, get a domain and hosting, build a website that shows what you can do, and use that website to attract and convert clients.
You do not need to be a web developer. You do not need a huge portfolio. And you do not need to spend weeks learning how to code before putting your business online.
Having your own website gives you a place to show your work, explain your services, collect inquiries, and build a professional presence outside freelance marketplaces.
The first step is to identify a skill people are willing to pay for. This could be content writing, graphic design, web development, virtual assistance, SEO, video editing, or another service you can deliver confidently.
Once you know what you want to offer, you can build a website around that service and start reaching potential clients.
So, how do you turn your skills into a freelance website that helps you earn money? Let’s walk through the steps.
Steps to Start a Freelance Website
Step 1: Pick a Niche That Makes Clients
A freelance website works better when visitors can quickly identify what you offer and who you help. If your homepage lists ten unrelated services, potential clients may struggle to understand what makes you a suitable choice.
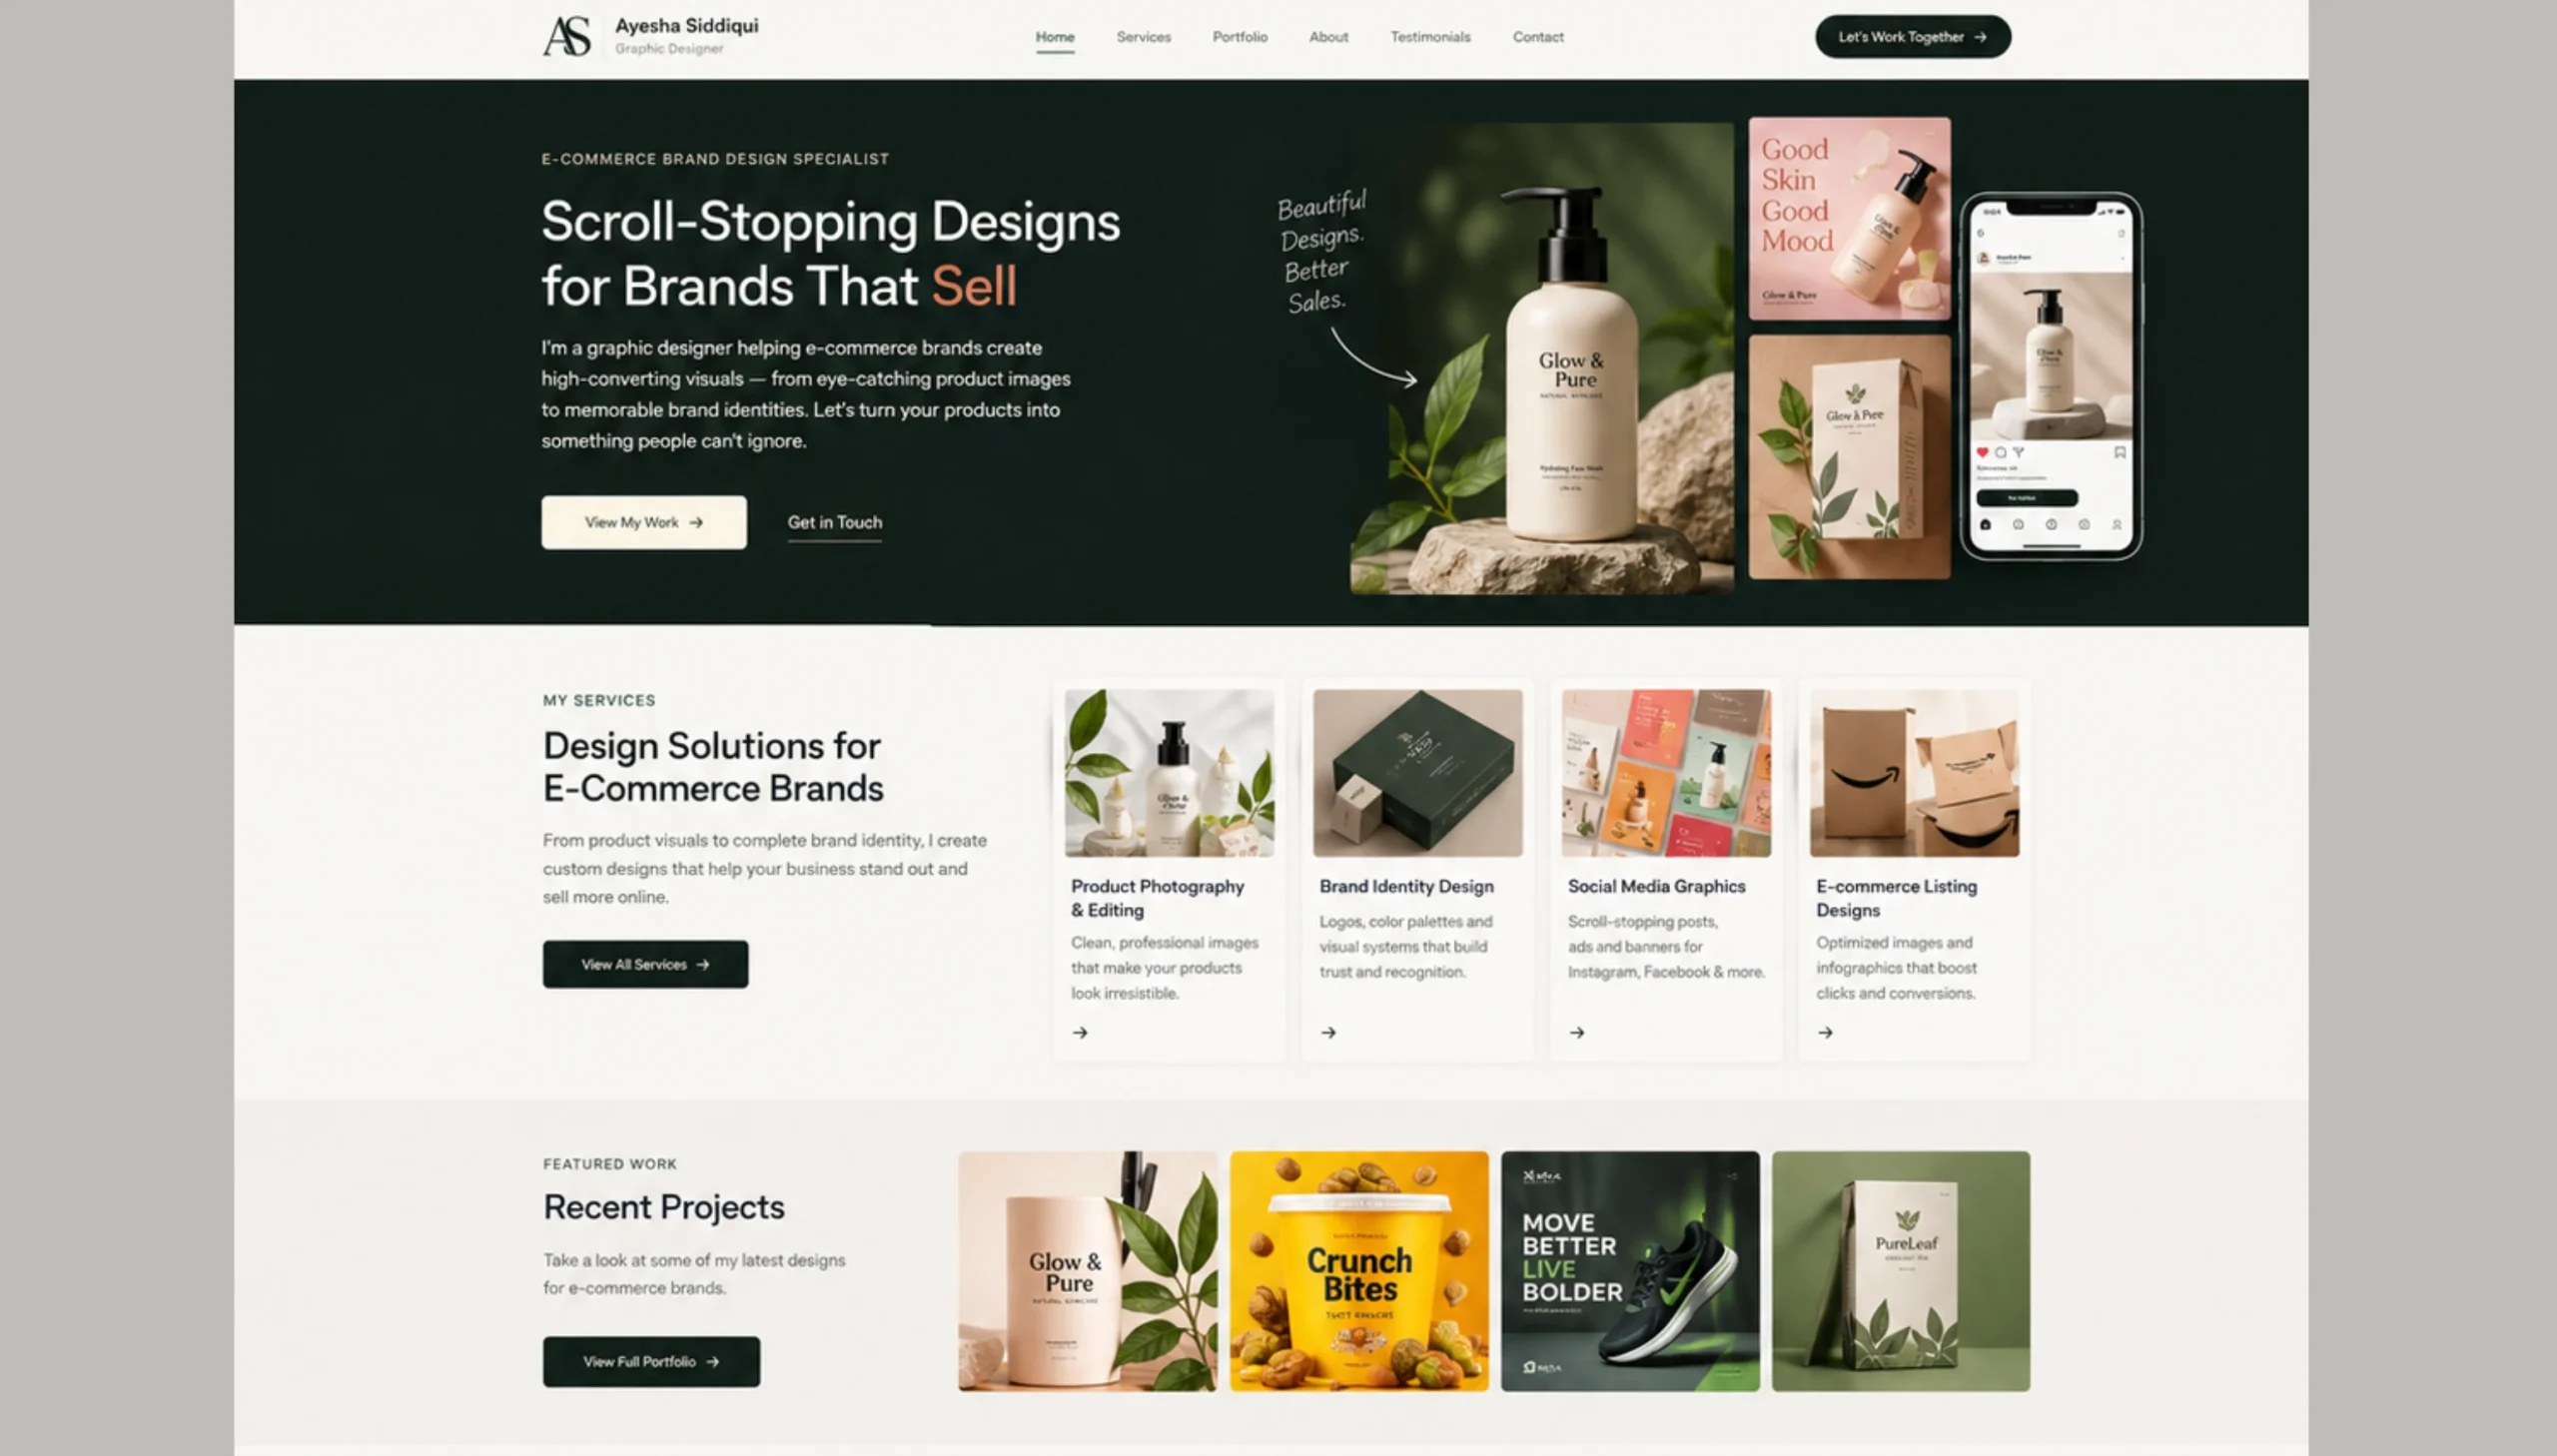
Starting with a specific niche gives your business a clearer direction.
Specialists often have an advantage over generalists because clients can see how their skills relate to a particular need. For example, instead of describing yourself as a writer who handles any topic, you could offer website copywriting for financial service providers.
A developer could focus on WordPress websites for small businesses, while a virtual assistant could work with consultants who need help managing appointments, email, and customer inquiries.
That way, you have a defined audience and a particular service to promote. This makes it easier to create relevant portfolio samples, write targeted website content, and approach businesses that need that kind of work.
You can choose a niche based on an industry or a particular skill.
Industry-specific niche examples include:
- Copywriter for Pakistani fintech companies.
- Graphic designer for e-commerce brands.
- Virtual assistant for coaches and consultants.
- Website designer for restaurants and small businesses.
- SEO writer for technology companies.
An industry-specific niche helps you learn about the audience you serve and the problems your clients are trying to solve.
You can also focus on software-specific niches such as:
- WordPress development.
- Canva design.
- Shopify store setup.
- HubSpot implementation.
- Email marketing.
This approach can help clients find you when they need someone with a particular technical skill.
You do not need to commit to a niche forever. Start with a service you can deliver well, choose an audience that needs it, and refine your offer as you gain experience.
A useful starting point is to complete this sentence: “I help [type of client] achieve [specific result] through [your service].” This gives your website a clear direction and helps you write copy that speaks to potential clients.
Step 2: Get Your Domain and Hosting
Once you know what you want to offer, give your freelance business a professional online address.
Your domain name is the address people type into their browser to visit your website, such as yourname.com or yourbrand.pk. Hosting is the service that stores your website files and makes the site available online.
Choose a domain that is easy to spell, remember, and share. You could use your name if you want to build a personal brand or choose a business name that reflects your services.
Keep it short where possible, avoid confusing spellings, unnecessary numbers, and hyphens that make it difficult to share, and check that the name does not closely imitate an existing business.
A professional domain helps clients recognize your website as a place to learn about your services. It also gives you a consistent address to include on your LinkedIn profile, business cards, proposals, email signature, and social media accounts.
Hosting deserves the same attention. Slow loading times, frequent downtime, and security warnings can discourage a visitor from contacting you.

Choose a hosting service that suits your website’s needs, provides reliable performance, and includes useful features such as SSL security and a manageable control panel.
At Truehost, our website-building options help freelancers establish an online presence without creating every part of a website from scratch. Depending on your chosen plan, you can use templates or AI-assisted website generation, edit your content and design, and connect your own domain.
You can start by visiting Truehost to review the available website-building and hosting options.
Step 3: Build Your Brand Before You Build Your Site
Your brand is the impression people form when they encounter your freelance business. It includes your business name, visual style, writing tone, and the way you explain your services.
Begin with a simple visual identity:
- Business name: Choose your personal name or a name that reflects your services.
- Logo: Choose a logo or wordmark and a small set of fonts.
- Colors: Select two or three colors and use them consistently.
- Fonts: Choose one font for headings and another for body text.
- Writing style: Use a consistent tone across your website and professional profiles.
Keep your branding consistent across your website, LinkedIn profile, and social media accounts. This helps people recognize your business when they encounter it on different platforms.
Write a homepage headline that focuses on the client:
Your homepage should explain what you offer and how it helps the people you want to reach.
Compare these two headlines:
“Welcome to Ahmad’s Website.”
“WordPress websites for small businesses that want more customer inquiries.”
The second headline gives visitors a reason to keep reading because it connects a service with a result.
A useful headline formula is:
[Service] for [target audience] who want [specific outcome].
Follow it with a short explanation of your services and a clear call to action, such as “View My Work,” “Request a Quote” or “Book a Consultation.”
Step 4: Build the Six Pages Every Freelance Website Needs
Your whole website should answer the questions a potential client is likely to have before hiring you: What do you offer? Who do you work with? Can you do the job? What will it cost? How can someone contact you?
Six pages can cover these needs: Home, Services, Portfolio, About, Testimonials, and Contact. You can build them as separate pages or place the same content in clearly labeled sections on a single-page website.
Choose the format that makes your information easiest to find.
1) Home
Your homepage should answer three questions quickly:
- What service do you offer?
- Who do you help?
- How can someone hire you?
Place your main headline near the top, introduce your services briefly, and guide visitors towards the next step.
You can also include a short introduction, selected portfolio samples, and a summary of what makes your service useful.
2) Services
Explain what you sell, who it is for, and what the client receives. Instead of a vague or broad statement, describe what your specific packages include and their prices.
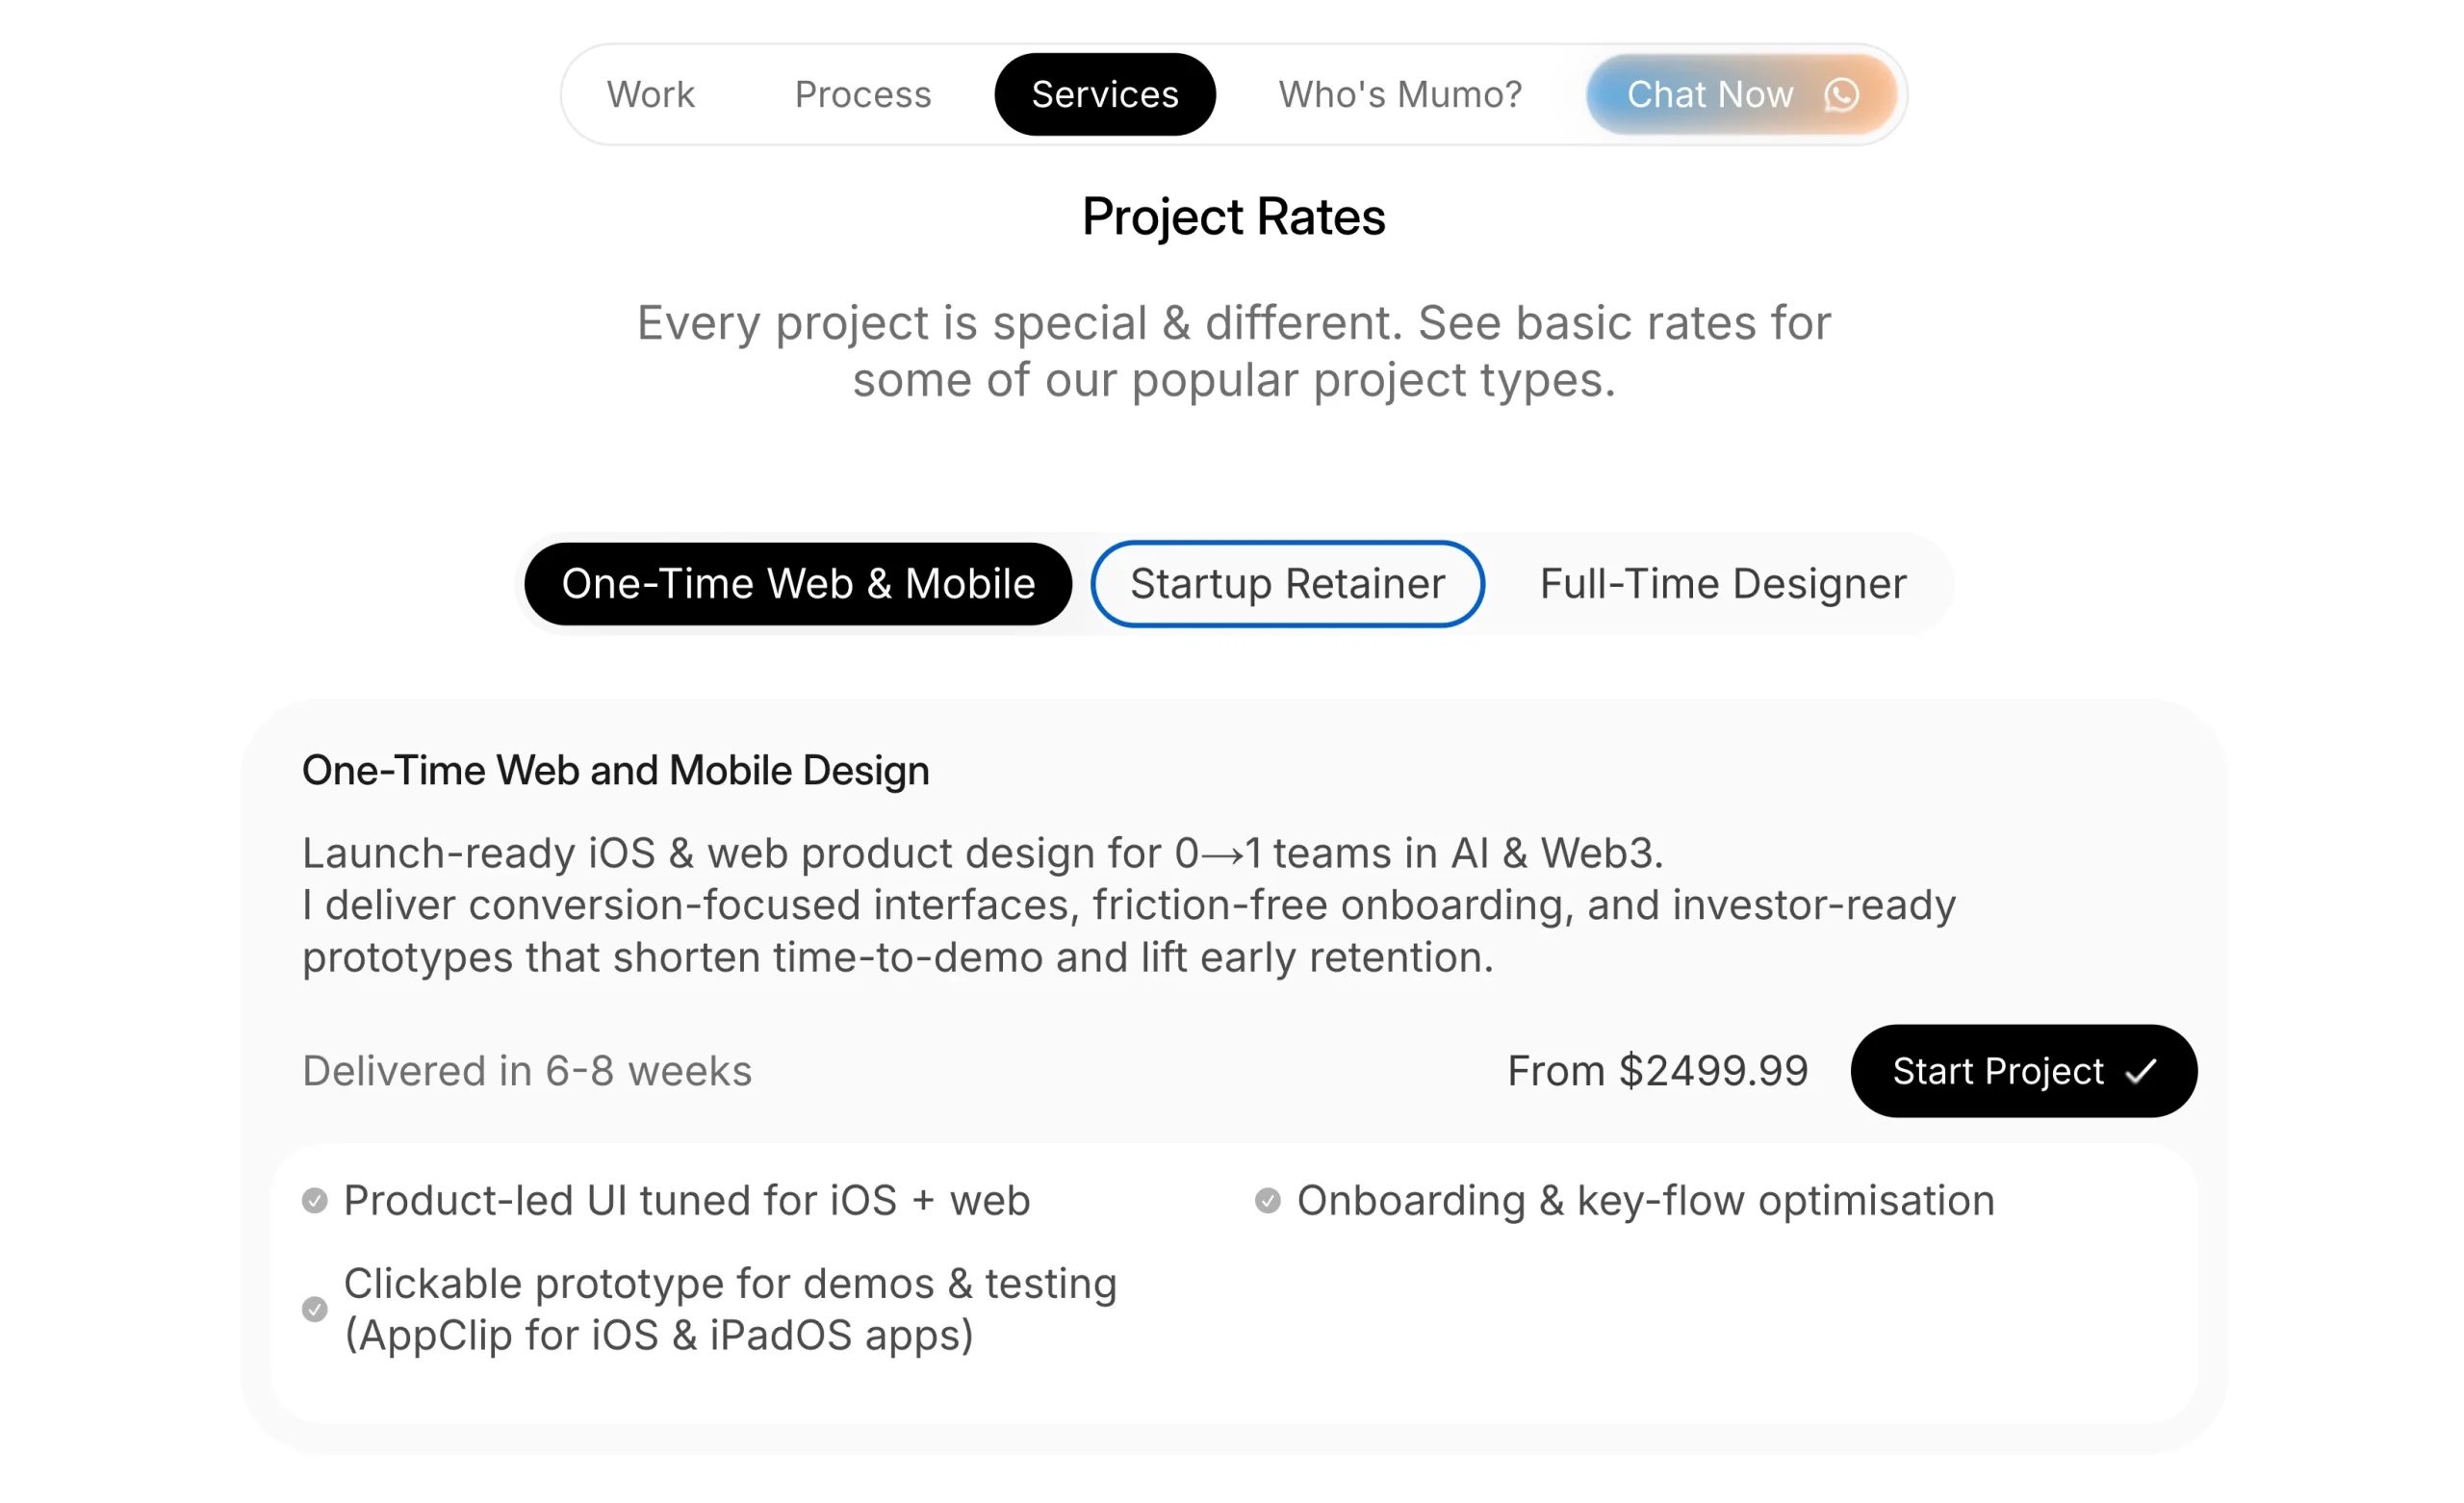
You can display fixed prices when the scope is clear. For custom projects, explain the factors that affect pricing and invite visitors to request a quote.
3) Portfolio
Your portfolio should show the type of work you want clients to hire you for.
For each project, explain what the project involved, what you contributed, and what results you achieved, where measurable results are available.
If you have no paying clients yet, you can create sample projects. A writer might prepare three articles for a fictional business, while a designer could create a sample brand identity or a website developer could build a demonstration website.
You can even prepare sample work in Google Docs and share view-only links or display selected excerpts on your website. Label sample projects clearly.
4) About
Introduce yourself, explain your area of specialization, and share relevant experience, training, or professional interests.
Keep the page personal enough to help visitors get to know you, but focus on information that helps them decide if you are a good fit for their project.
5) Testimonials
Client testimonials provide social proof by showing what it is like to work with you.
Once you have completed a project successfully, ask the client for a short review. Request permission before publishing their name, company details, photographs, or private messages.
If you are new to freelancing, leave this section out until you have genuine feedback. You can add it as your client base grows.
6) Contact
Make it easy for potential clients to reach you. Include a professional email address, a short contact form, and a WhatsApp link if it suits your business.
You can also link to the professional social profiles you actively use.
Ask for only the details you need to start a conversation, such as the visitor’s name, email address, and a short description of the project.
The goal is to make the path from interest to enquiry as simple as possible.
Step 5: Optimize Your Freelance Website for SEO
Search engine optimization (SEO) can help potential clients discover your website when they search for services you offer.
Start with keyword research, then use those terms naturally in your page content. Think about the words potential clients use when looking for someone with your skills.

Google autocomplete, related searches, and keyword research tools can help you identify additional phrases. Choose a main search phrase for each important page, then write naturally around the service and the needs of your audience.
For on-page SEO give each page a descriptive title, write a useful meta description, and organise the content with clear headings.
Add meaningful alternative text to images that communicate information, and use descriptive file names where practical. Compress large images so they do not slow down the website.
Local SEO can help if you work with businesses in a particular city or region.
If you serve clients in a particular city, include your service area where it is relevant, create useful location-specific pages only when you can provide genuinely distinct information, and keep your business details consistent across online listings.
A Google Business Profile can be useful for eligible businesses that meet Google’s requirements. Freelancers working entirely online should check the eligibility rules before creating a profile.
Blogging can also support your SEO efforts over time. Write about the questions clients ask before hiring someone, common problems in your field, and practical ways to solve them.
Useful articles can attract visitors who are researching a problem before they are ready to hire. Include relevant links to your services and give readers a clear next step.
You do not need to publish every day. A manageable schedule and useful content are more valuable than a large collection of rushed posts.
Step 6: Make Your Site Mobile-Friendly
Your potential clients may visit your website from a laptop, but many will also browse from their phones. A mobile-friendly website makes it easier for them to view your work, understand your services and contact you.
Before publishing, open your website on a phone and check the following:
- Fonts: Is the text readable without zooming?
- Loading speed: Do the pages load without unnecessary delays?
- Navigation: Can visitors find your services and portfolio easily?
- Buttons: Are links and calls to action easy to tap?
- Images: Do images fit the screen without cutting off important details?
- Contact form: Can visitors complete and submit it easily?
- Contact options: Can someone reach you through email or WhatsApp without difficulty?
Mobile usability is worth checking after major design changes, too.
Step 7: Add Tools That Turn Visitors Into Clients
Now we’re getting to the money making part. Start by deciding what action you want visitors to take. Depending on your service, that might be requesting a quote, booking a consultation or sending a WhatsApp message.
A WhatsApp button can make it easier for potential clients to ask questions, particularly if you serve small businesses in Pakistan.
A live chat plugin can also help if you are available to respond quickly but an unanswered chat is worse than no chat. Only add it if you can realistically respond.
If your service involves a discovery call or consultation, a scheduling tool lets potential clients book a time that works for both of you without the back-and-forth of finding a slot over email.
Free tools like Calendly integrate easily with most websites and can take significant friction out of the first step in your sales process.
Set up Google Analytics or a similar tool before you start sending traffic to your site. Once you have a few weeks of data, you will be able to see which pages people visit most, where they drop off and where your enquiries tend to come from.
That information tells you what to improve and confirms when something is working.
Step 8: How to Get Your First (and Next) Clients
Your website gives potential clients a place to learn about your work, but you still need to attract visitors. At first, combine several approaches rather than waiting for search engines to send you enquiries.
- Freelance marketplaces: Find initial projects from freelance platforms, gain experience, build your portfolio, and write proposals that address clients’ needs.
- LinkedIn: Optimize your profile, highlight client benefits, share work samples, case studies, and useful industry tips.
- WhatsApp groups and business networks: Join and connect with potential clients, participate in relevant discussions, and share your services when appropriate.
- Cold outreach: Research potential clients and send personalized pitches focused on how your services can solve their problems.
- Referrals: Ask satisfied clients to recommend you to others who may need similar services.
Step 9: Turn One-Off Projects Into Monthly Retainers
A completed project can lead to recurring work if the client continues to need your services.
A monthly retainer is an agreement under which a client pays a set fee for a defined amount of ongoing work or support. It can help you plan your workload and make income more predictable, although the arrangement still depends on the client’s continued needs and the terms you agree on.
Retainer packages vary by freelance profession.
| Freelance service | Example monthly package |
|---|---|
| Content writing | Four researched and optimized blog posts |
| Website development | Website maintenance, updates and backups |
| Graphic design | A set number of social media graphics |
| Virtual assistance | An agreed number of support hours |
| Social media management | Monthly content planning and management |
| SEO services | Ongoing optimization and performance reporting |
Start by looking at clients who already hire you regularly. If they repeatedly request similar tasks, suggest a monthly arrangement that groups those needs into a clear package.
Explain what is included, how requests will be handled, when work will be delivered, and what falls outside the agreement.
Price retainers based on the time, expertise, and availability required. Set boundaries around revisions, response times, additional requests, and unused hours where relevant.
Step 10: Partner With Other Freelancers
Collaboration is one of the most underused strategies in freelancing.
Clients often need more than one type of service for a single project. A business building a new website might need web development, copywriting and a logo. A brand launching a product might need photography, social media content and email marketing.
If you can refer clients to trusted specialists in those areas and they refer clients back to you everyone benefits. The client gets more done without having to find and vet multiple freelancers on their own.
Look for freelancers who serve the same type of client as you but offer a different service. You are not competing for the same work. You are covering different parts of the same client’s needs.
How referral partnerships work:
Some freelancers formalise this with a referral fee, that is a small percentage of the project value when an introduction leads to paid work. Others keep it informal and reciprocal.
Either way, it works best when both people genuinely trust each other’s work. Refer clients to people you would be comfortable being associated with.
You can also collaborate directly on larger projects, with each freelancer responsible for an agreed part of the work.
Discuss responsibilities, deadlines, fees and client communication before beginning a joint project. If you receive referral commissions, agree on the terms and disclose them where appropriate.
Step 11: Sell Digital Products From Your Site
Your freelance website can generate income through more than client projects. Once you have developed useful resources through your work, you can turn some of them into digital products.
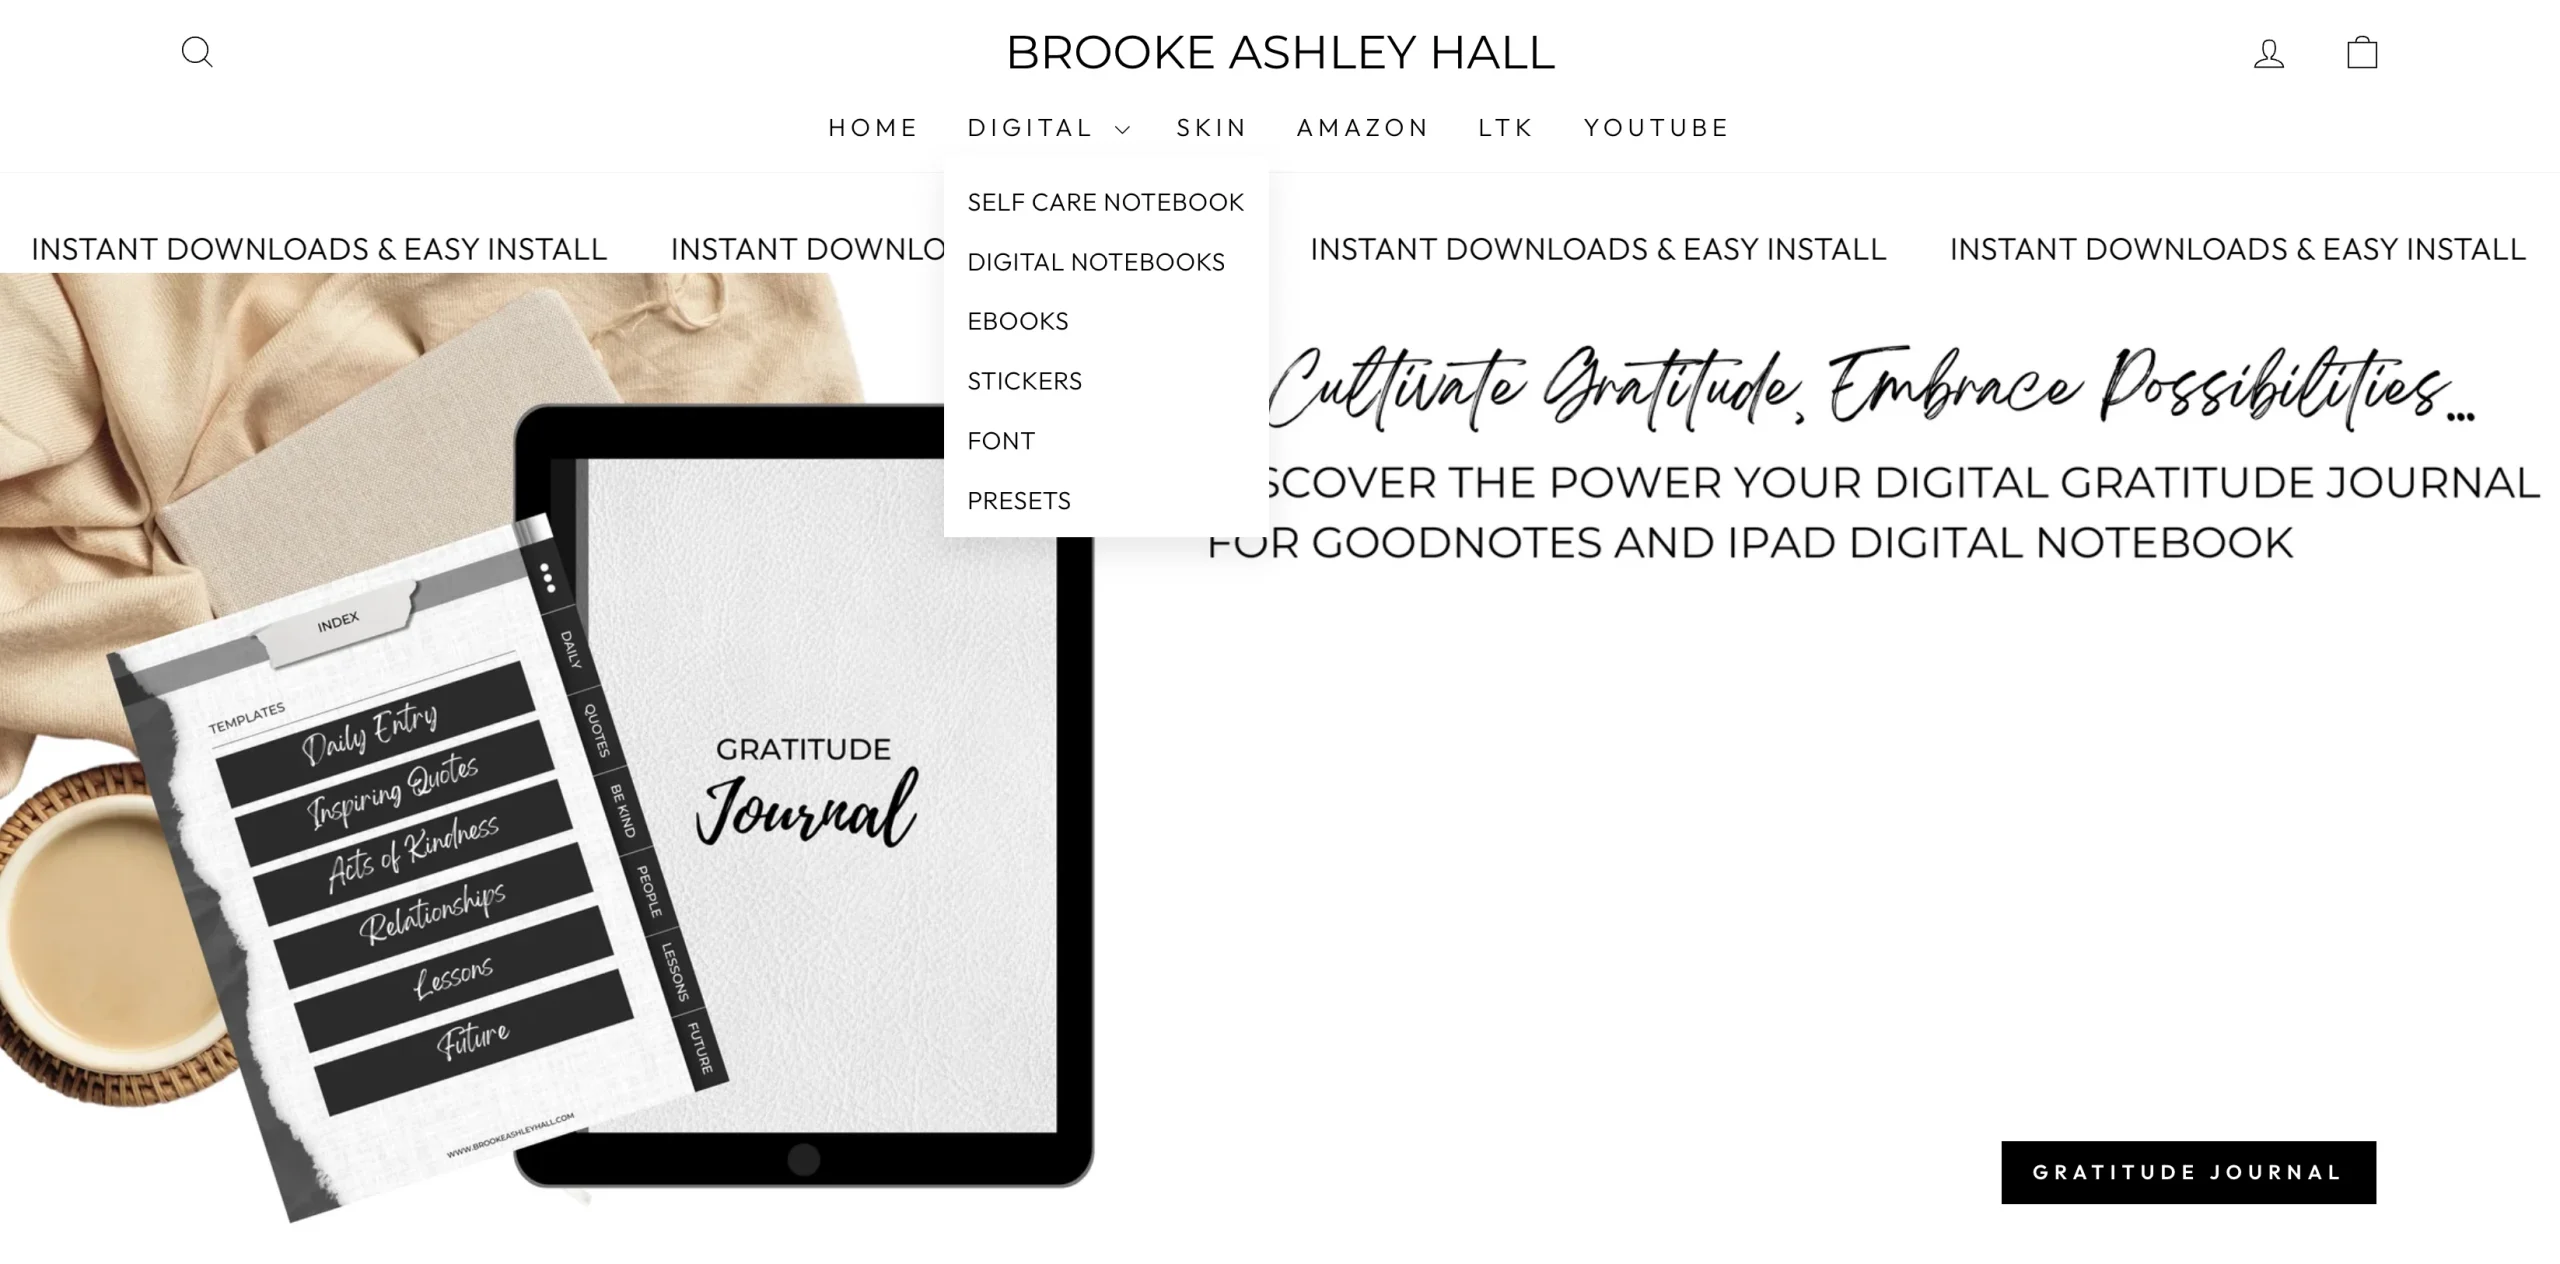
Examples include:
- Templates: Canva designs, content calendars, website layouts and business documents.
- E-books: Practical guides that help a specific audience solve a problem.
- Swipe files: Example emails, scripts, briefs or marketing resources.
- Mini-courses: Short lessons that teach a focused skill.
- Downloadable systems: Checklists, onboarding documents and standard operating procedures.
Choose products that fit your expertise and give buyers a clear reason to pay for them. Then use your website to display the products, previews, prices, and purchase links.
Our Truehost’s website options include e-commerce functionality, which means you can add a simple product shop to the same site you already use for your freelance services. Clients and visitors who find you for your freelance work can also browse and buy your products.
For Pakistani customers, consider suitable local payment gateways, bank transfers, or digital wallets. For international sales, check payment availability, withdrawal options, and fees.
Clearly explain how customers receive their products, if files are editable, and what the licence permits. Start with one useful product, gather feedback, and expand your collection as demand grows.
Step 12: Raise Your Rates as You Grow
Your first rate is not your forever rate.
As your skills improve, your portfolio strengthens, your testimonials grow and your results for clients become more demonstrable, the value you offer increases. Your pricing should reflect that.
Most clients who have worked with you for a while expect rates to change over time. It is normal. What they do not expect is a large, unexplained jump with no notice. So, give them advance notice, like a month prior. Be direct about the change and the reason.
Most clients who value the relationship will stay. Some will not, and that is a normal part of growing a business.
Pricing psychology: packages vs. hourly
Hourly pricing creates a ceiling on your income. The only way to earn more is to work more hours.
Package pricing ties your fee to the outcome and scope of the work rather than the time it takes. As you become more efficient, you earn more per hour without charging the client more.
Offer packages with clearly defined scope and deliverables. Make the difference between each tier obvious enough that clients can self-select the one that fits their situation.
Raise your rates as the results you deliver, the demand for your services and the quality of your offering develop, not just because you feel it is time.
Start Building Your Freelance Website
Learning how to start a freelance website is only useful if you eventually put the plan into action.
- Choose one skill.
- Choose one audience.
- Create a simple offer.
- Build a website that explains it clearly.
- Then start sending people to that website.
You do not need a perfect portfolio or a complicated business model on day one. You need a professional place where potential clients can understand what you do, see evidence of your work and contact you.
Once that foundation is in place, you can keep improving it, adding better samples, publishing useful content, collecting testimonials, offering retainers and eventually selling products alongside your freelance services.
Your website does not need to make you money on its first day. It needs to make it easier for the right person to choose you.
Start with the first version and build from there.