Domain SearchInstantly check and register your perfect .pk or international domain
 Web HostingGet a .pk domain for as low as PKR 467
 cPanel HostingUser-friendly hosting powered by cPanel
 Reseller HostingLaunch your own hosting business with minimal technical requirements
 Windows HostingOptimized for Windows-based applications and websites
 Affiliate ProgramEarn referral commissions by promoting our services
 WordPress HostingFast & Reliable WordPress Hosting
 Domain TransferMigrate your existing domain seamlessly with zero downtime.
 All DomainsAccess 324+ top-level domains (TLDs) worldwide from a single platform
 Whois LookupIdentify the owner of any domain using our whois and rdap lookup tool
 Managed VPS Hosting
 AI Website BuilderCreate beautiful websites effortlessly using intuitive drag-and-drop features
 Online ShopLaunch a professional online shop with no technical skills required
 BlogDiscover expert guides on hosting, websites, SEO, and digital growth strategies
 ContactGet instant assistance via live chat or email
 SupportAccess help articles, tutorials, and service documentation
 SSL CertificatesEncrypt data, build trust, and boost SEO.
If you want to build a website, test WordPress, or experiment with PHP and databases without paying for hosting yet, XAMPP gives you a place to do it on your own computer.
XAMPP is a free local development environment that combines Apache, MariaDB, PHP, and phpMyAdmin. Together, these tools allow your computer to act as a web server for development and testing.
There is one important distinction to keep in mind. A website running through XAMPP on localhost is only available on your computer. People on the internet cannot visit it.
So, XAMPP is useful for building and testing a website, while web hosting provides the server that makes the finished website available to visitors.
With that said, let’s walk through how to install XAMPP, get a website running on your computer, test it properly, and move it to a live server when you are ready.
What You Need Before Installing XAMPP
Before installing XAMPP, check that your computer meets the basic requirements and that the ports Apache needs are available.
XAMPP supports common desktop operating systems, including Windows 10 and 11, macOS Ventura and newer versions, and Ubuntu 22.04 and newer releases.
For a basic development setup, have at least:
- 4GB of RAM
- 2GB of available storage
- A dual-core processor
XAMPP’s Apache needs ports 80 and 443. Skype, Zoom, and Windows IIS are the most common programs that sit on these ports and cause conflicts. Close or disable them before you start.
A few other things to sort out first:
- Pause your antivirus during installation, since it sometimes flags XAMPP’s files incorrectly
- Temporarily lower Windows UAC (User Account Control) if you are on Windows
- Have Chrome or Firefox ready for testing
- Make sure you have admin access on the computer
Once these basics are in place, you can install XAMPP.
Step 1: Download XAMPP
Start by visiting the official Apache Friends website and download the XAMPP installer for your operating system.
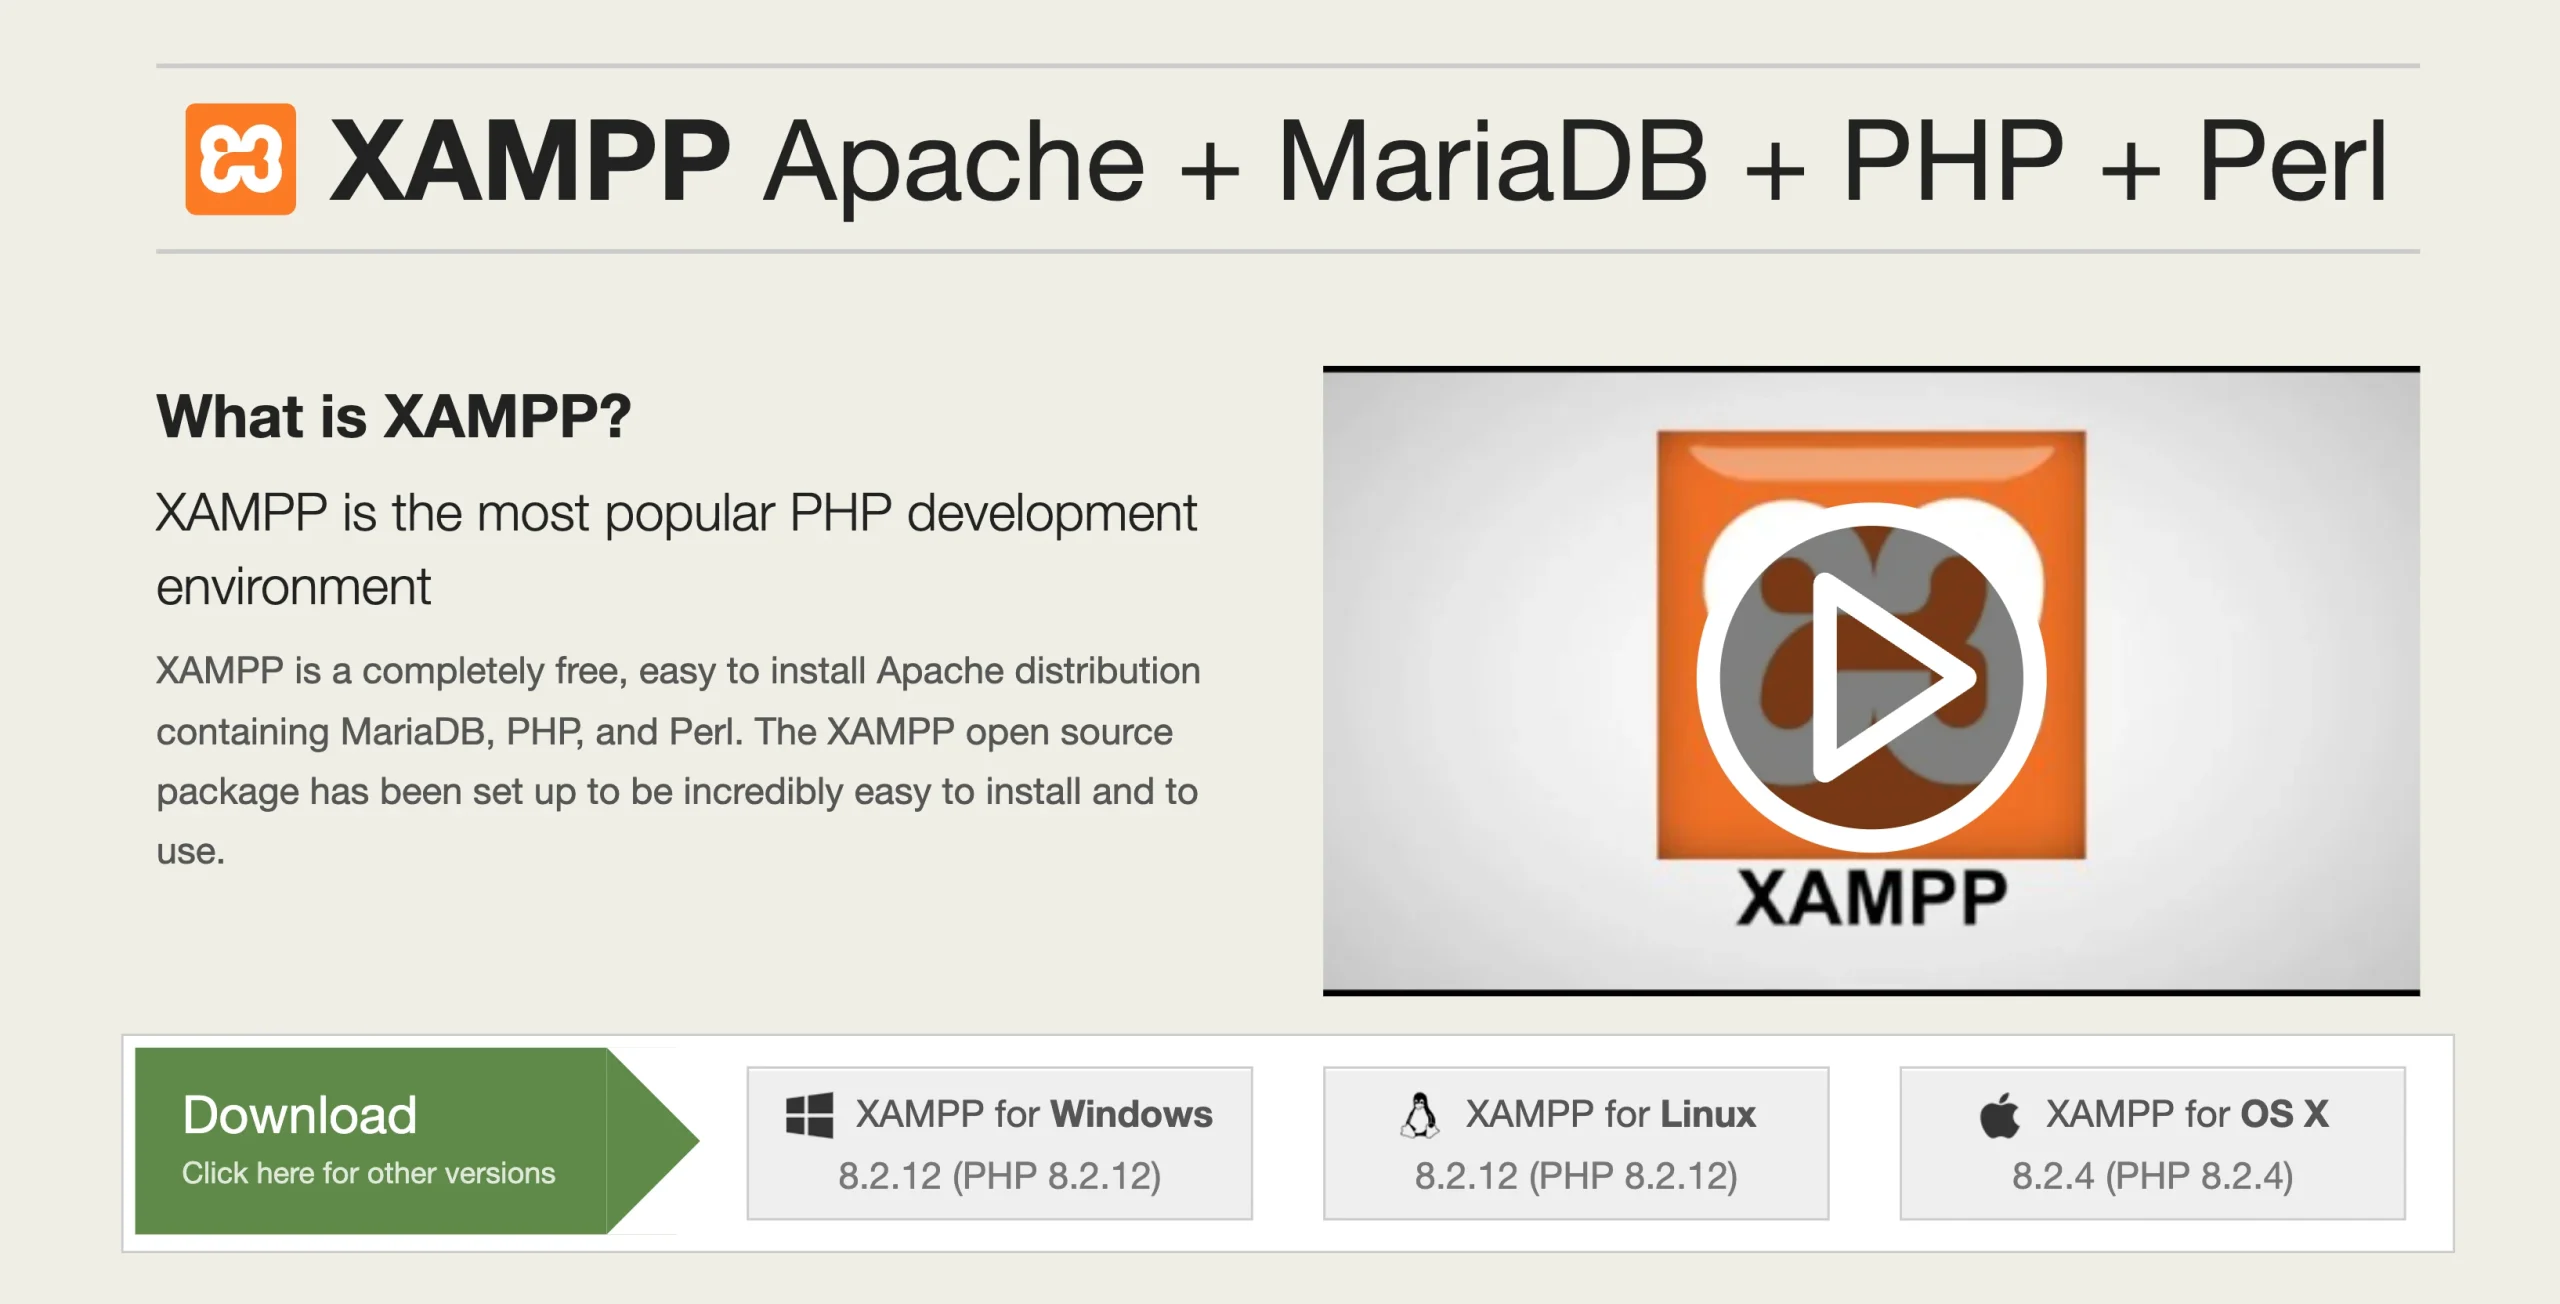
Download only from the official source. There are copies of XAMPP floating around other sites, but there is no good reason to take that risk.
On the download page, you will usually see more than one PHP version available. The right choice depends on your project.
If you are setting up WordPress, check the WordPress minimum PHP requirements and pick a version that meets them. If you are working with an existing project, match the PHP version it was built on.
After downloading the appropriate installer, you are ready to set up the local server.
Step 2: Install XAMPP
Run the XAMPP installer and follow the setup prompts.
The installer lets you choose which components to install. For a typical PHP or WordPress project, you will need:
- Apache: the web server that receives browser requests and serves your website files.
- MariaDB: the database system used to store website data.
- PHP: the programming language used by WordPress and many other web applications.
- phpMyAdmin: a browser-based interface for creating and managing databases.
You can leave out components you do not need.
Next, choose the installation directory. On Windows, the default location is:
C:\xamppKeeping the default location makes later steps easier because the paths used in XAMPP documentation and tutorials commonly assume this location.
Continue through the installation prompts until XAMPP is installed.
Windows may display a firewall prompt when Apache starts. Allow the required access so Apache can communicate correctly with your local browser and development environment.
Once the installation is complete, open the XAMPP Control Panel. You will use this to start and stop your server.
Step 3: Start and Configure XAMPP
Once you open the XAMPP Control Panel, you’ll see several services listed, including Apache and MySQL.
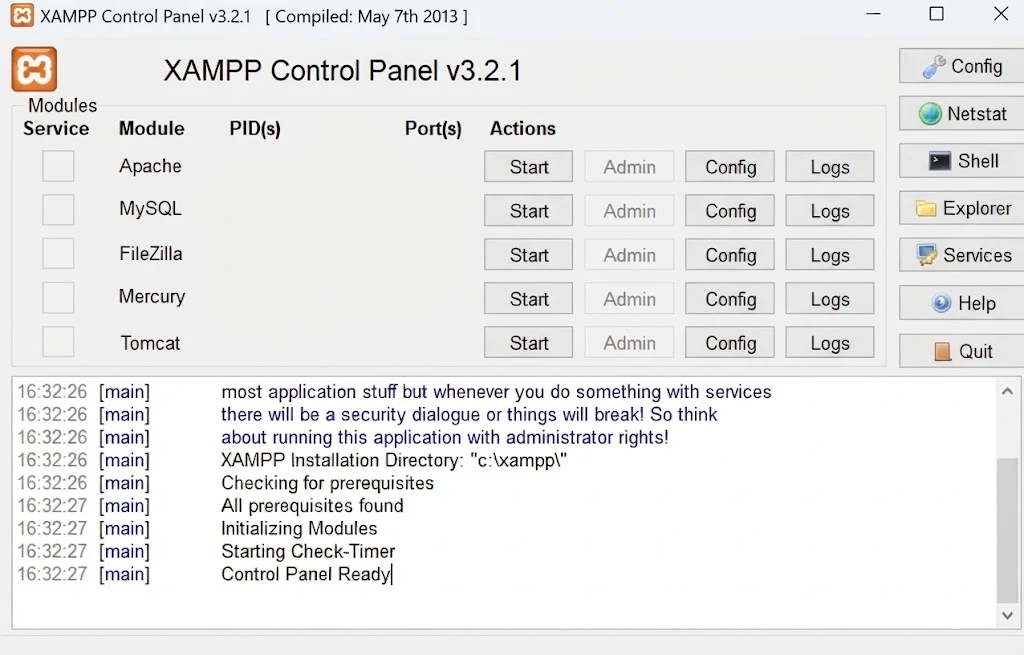
Start Apache first by clicking Start next to it.
Apache is the web server. When you enter a local website address such as http://localhost/mysite into your browser, Apache receives that request and returns the appropriate website files.
If your website needs a database, also start MySQL. XAMPP uses MariaDB as its database system, even though the Control Panel commonly labels the service as MySQL.
The status indicators in the Control Panel show you if the services are running. A running service will display its active status in the panel.
Now test Apache. Open your browser and enter:
http://localhostIf Apache is working, you should see the XAMPP welcome page.
If the page does not load, check if Apache is running. If Apache refuses to start, a port conflict is one of the first things to investigate.
Optional Database Security
A new XAMPP installation may use the default database setup, which can include a root account without a password. That can be convenient for local development, but you should not carry those credentials over to a production website.
You can set a password for the database root account through phpMyAdmin. Open:
http://localhost/phpmyadminThen go to User Accounts, click on the root user, and set a password from there.
More importantly, when you move your website to a live server, never use default or blank credentials. Live hosting environments should always have a strong database password.
Step 4: Create a Database in XAMPP
If your website stores information such as WordPress posts, user accounts, settings, or form submissions, you will need a database.
Open:
http://localhost/phpmyadminFrom the phpMyAdmin interface, go to the database creation section.
Enter a name for your database. For example:
mysiteYou can then select the character set and collation for the database.
For websites that need to handle multiple languages, utf8mb4 is a useful choice because it supports a broad range of Unicode characters. That includes Urdu and many other non-Latin writing systems.
Once you have selected the appropriate settings, create the database.
Your website now has an empty database ready to receive its data.
Keep Your Database Details Handy
You will need the database connection details when you install WordPress or configure a PHP application.
Keep these details somewhere accessible:
- Database name: The name you created
- Database username: Usually
rootin a basic XAMPP setup - Database password: Blank by default unless you have set one
- Database host:
localhost - Database port: Usually
3306unless you changed it
These details tell your website where the database is located and how it should connect to it.
Step 5: Host a Website Using XAMPP
This is where everything comes together. There are a few different scenarios depending on what type of website you are hosting.
1) Find the htdocs Folder
XAMPP uses a folder called htdocs as the main directory for websites.
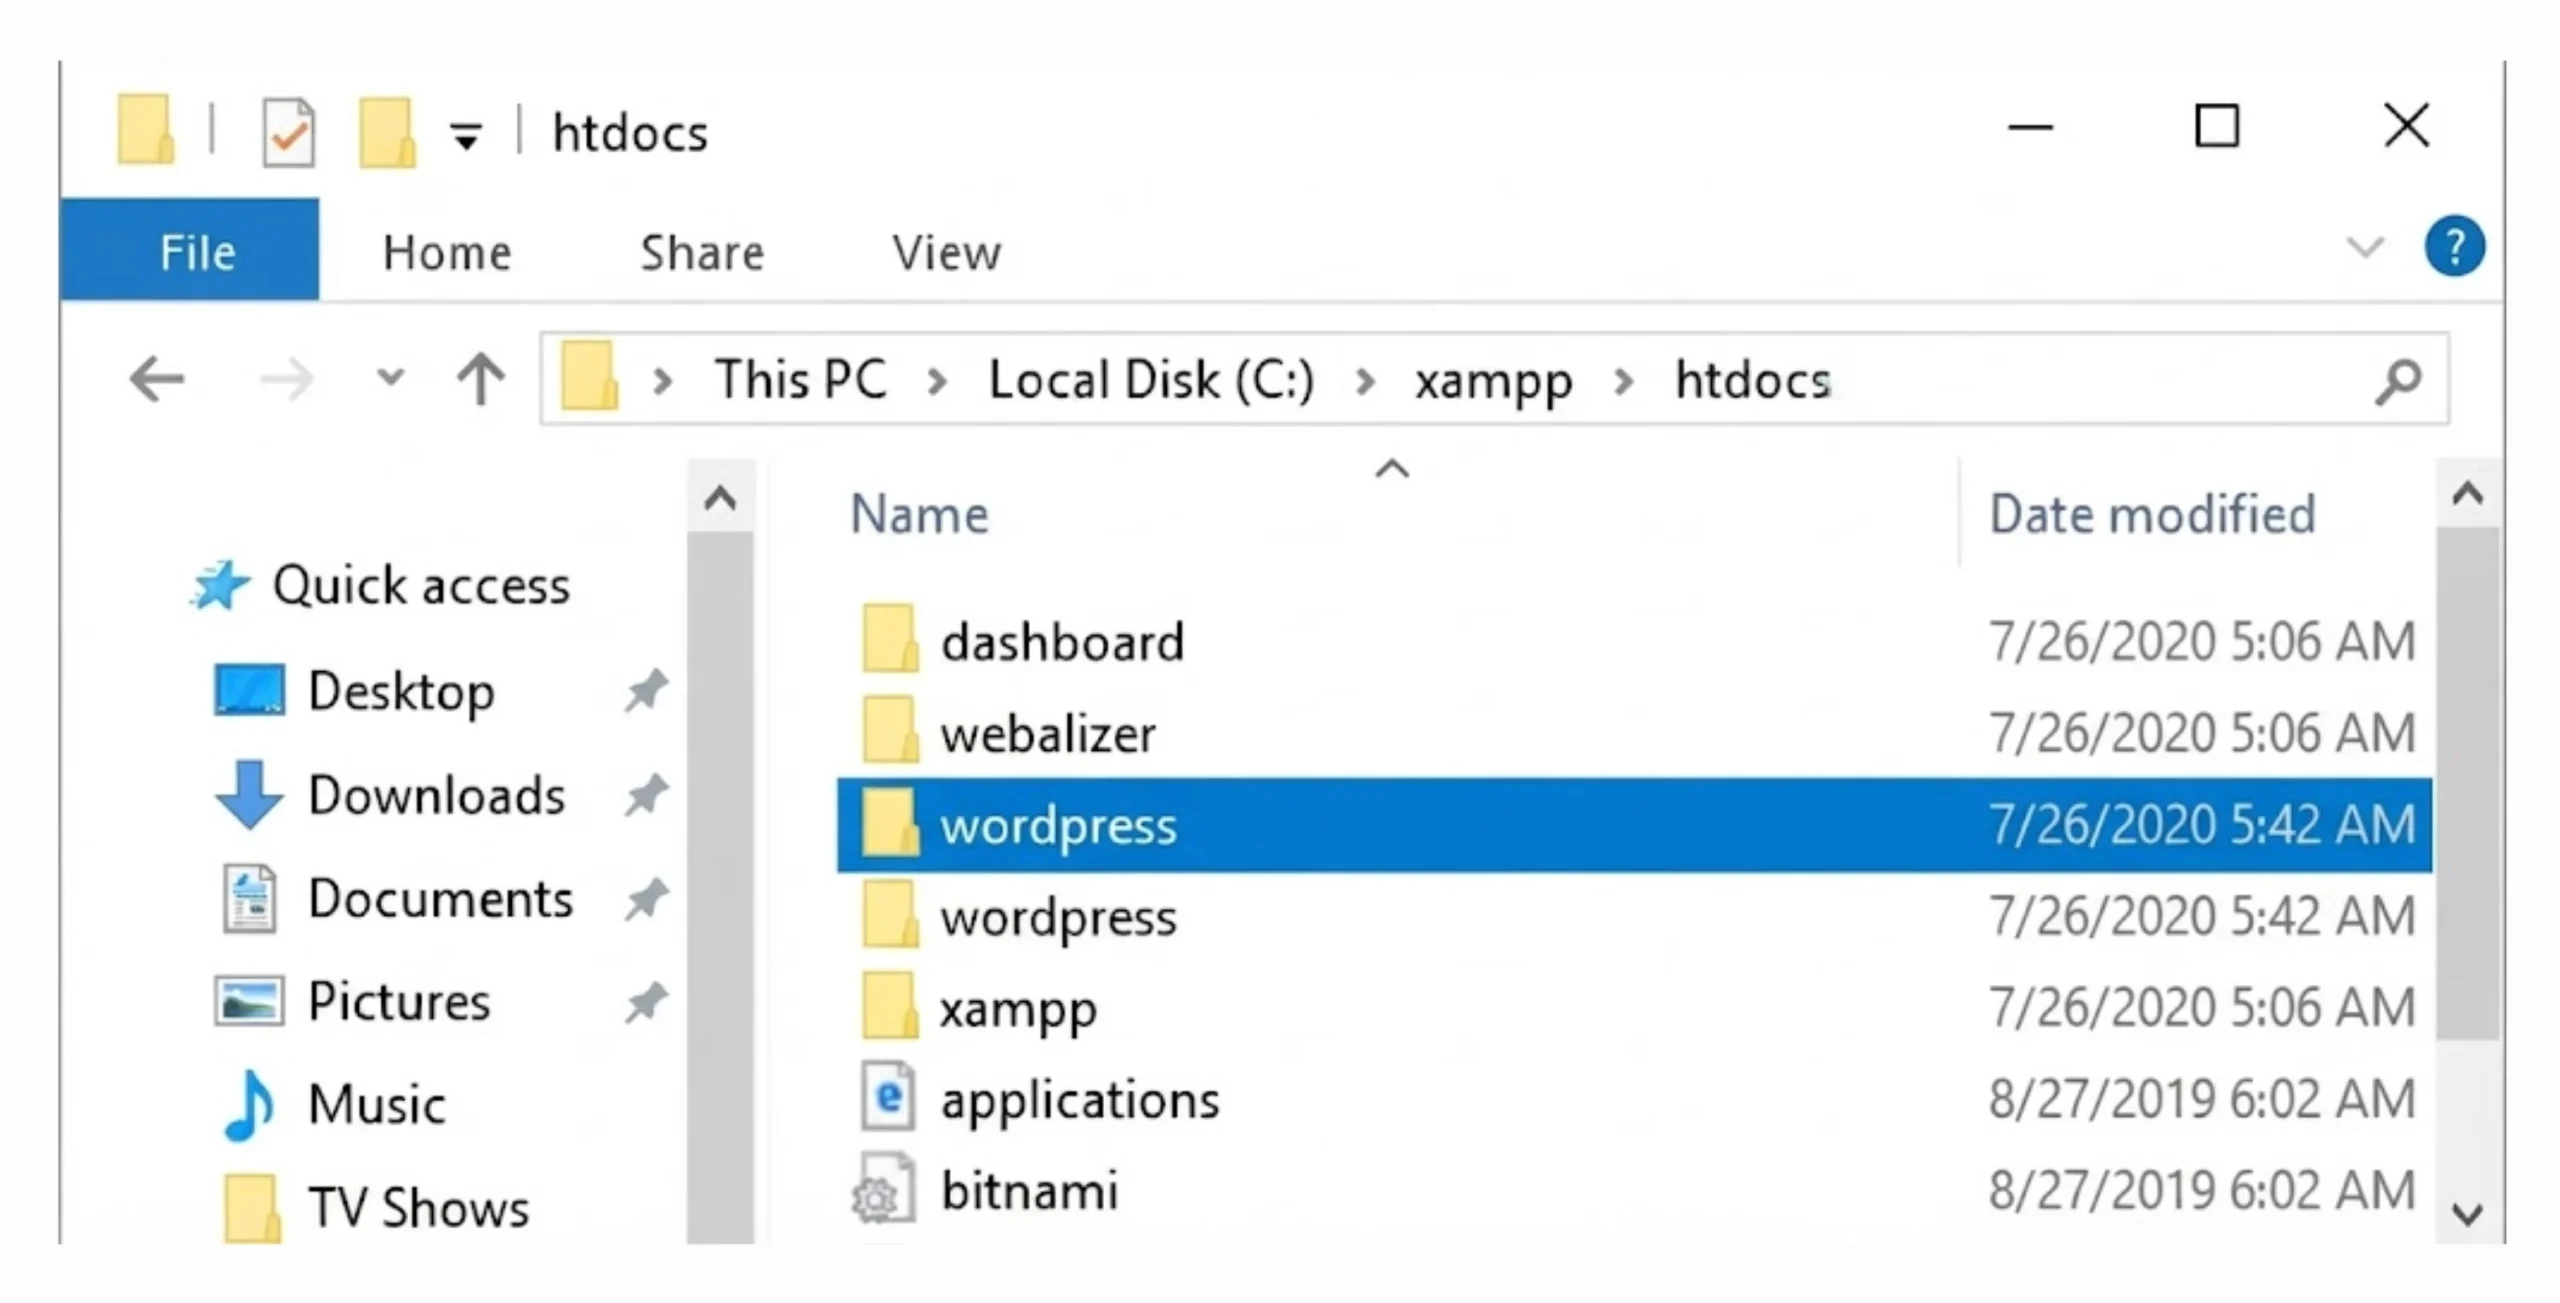
On Windows, you will normally find it here:
C:\xampp\htdocsOn macOS, it is commonly located at:
/Applications/XAMPP/htdocsApache serves website files from this directory. That is why a website stored somewhere else on your computer will not automatically appear at a localhost address.
2) Create a Website Folder
Create a separate folder inside htdocs for each website you are developing.
For example:
C:\xampp\htdocs\mysiteKeeping each project in its own folder makes it easier to work on several websites without mixing their files.
You could have:
C:\xampp\htdocs\mysite
C:\xampp\htdocs\shop
C:\xampp\htdocs\portfolio
Each folder can then be accessed through its own local address.
3) Host a Static HTML Website
A static HTML website does not need PHP or a database.
Copy your HTML, CSS, JavaScript, images, and other website files into your project folder.
For example:
C:\xampp\htdocs\mysiteMake sure the main page is named:
index.htmlWith Apache running, open:
http://localhost/mysiteYour website should load in the browser.
If Apache is configured to use port 8080 instead of the default port 80, use:
http://localhost:8080/mysite4) Host a PHP Website
PHP websites also need to be placed inside the htdocs directory.
For example:
C:\xampp\htdocs\mysiteMake sure Apache is running before opening the site.
Then visit:
http://localhost/mysiteThere is an important difference between opening a PHP file through Apache and opening it directly from your computer.
If you double-click a PHP file, your browser may open it using a file:// address. In that situation, the file is not being processed by PHP. Apache needs to receive the request first so that PHP can execute the code and return the resulting page.
For that reason, always access your PHP project through its localhost address.
5) Host WordPress Using XAMPP
XAMPP is also useful for building a WordPress website locally.
First, download WordPress from the official WordPress website and extract the files.
Move the WordPress folder into:
C:\xampp\htdocsYou can rename the folder to something such as:
mysiteNext, create a database in phpMyAdmin for the WordPress installation.
With Apache and MySQL running, open:
http://localhost/mysiteWordPress will take you through its installation process.
When prompted for database information, enter the database name, username, password, and host you created earlier.
After the installation is complete, create your WordPress administrator account and log in to the dashboard.
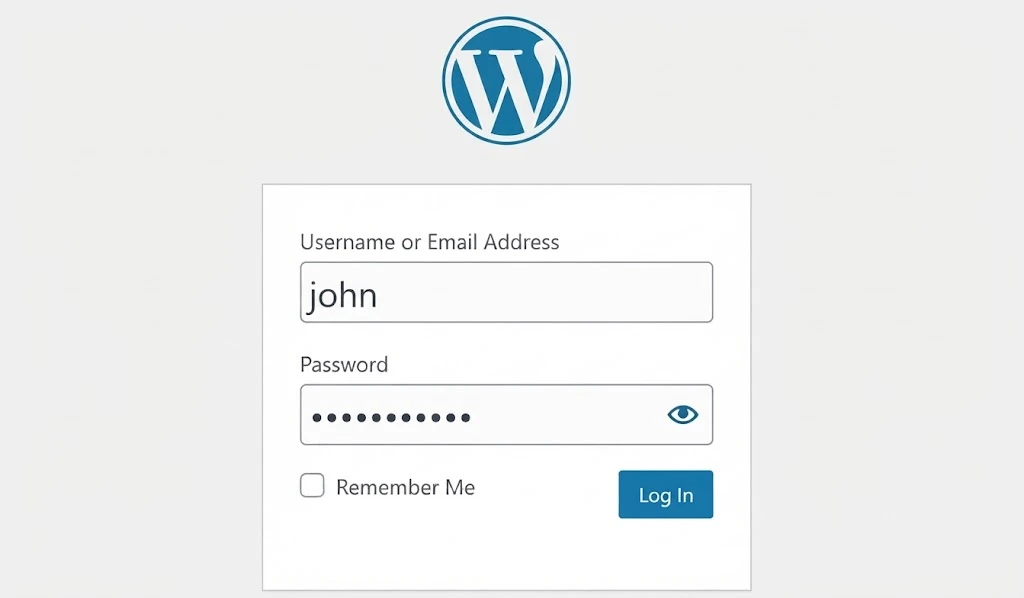
You can now work on the site locally. Add pages and posts, change the theme, install plugins, upload images, and test your website without making the site public.
Your local WordPress address will normally be:
http://localhost/mysiteIf Apache is running on port 8080:
http://localhost:8080/mysiteStep 6: Test Your Website on XAMPP
Before moving your website to live hosting, give it a proper test on your local server.
Basic PHP Test
You can quickly check that PHP is being processed by creating a file called:
info.phpPlace it inside your website folder and add:
<?php phpinfo(); ?>Then open:
http://localhost/mysite/info.phpIf PHP is working, you will see a page containing PHP configuration information.
If the PHP code appears as text instead, make sure Apache is running and that you are opening the file through localhost.
Once you have finished testing, delete the info.php file. A PHP information page can reveal server configuration details that should not be exposed on a public website.
Website Testing Checklist
Go through the main functions of the website before moving it online.
Check that:
- The homepage loads correctly.
- Internal links work.
- Images display correctly.
- CSS and JavaScript load.
- Forms work.
- WordPress login works.
- Posts and pages can be created.
- Images can be uploaded.
- Plugins work.
- Themes work.
- Database-driven features work.
- There are no unexpected 404 errors.
- The website displays properly on mobile-sized screens.
If you are testing a WordPress website, create a test post, upload an image, activate the plugins you plan to use, and check the main pages from both the front end and dashboard.
Test Across Browsers
Where practical, open the website in more than one browser.
Chrome and Firefox are useful starting points. Testing across browsers can reveal differences in layouts, forms, JavaScript behavior, or other website functions.
Why test locally?
Well, it gives you a safe place to find and fix problems before visitors encounter them.
You can change PHP files, test database queries, install a plugin, modify a theme, or adjust the site’s design without affecting a public website.
Once everything works as expected, you can move the website to a live hosting server.
Troubleshooting Common XAMPP Problems
Most XAMPP problems follow recognizable patterns. Here are the ones you are most likely to run into:
| Problem | Likely cause | What to try |
|---|---|---|
| Apache won’t start | Port 80 is already being used | Identify the conflicting service or change Apache’s port |
| Apache starts but localhost doesn’t load | Server or configuration issue | Check Apache’s status and configuration |
| MySQL/MariaDB won’t start | Port or service conflict | Check for another database service using port 3306 |
| 403 Forbidden | Access or configuration issue | Check Apache configuration and folder permissions |
| PHP code appears as text | PHP isn’t being processed through Apache | Open the file through localhost |
| File upload is too large | PHP upload limits | Adjust the relevant php.ini settings |
| WordPress won’t connect to the database | Incorrect database credentials | Check the database name, username, password, and host |
| Website breaks after a plugin installation | Plugin conflict | Disable the problematic plugin |
| Images or CSS don’t load | Incorrect paths or URLs | Check file paths and WordPress URLs |
Why Choose Truehost for Your Live Website?
XAMPP has done its job, your website is built, tested, and working. The next step is putting it somewhere the rest of the world can reach it.
At Truehost, we offer hosting plans built for the Pakistani market, so you are not paying for infrastructure based elsewhere or dealing with support that doesn’t understand local needs.
This’s what you get:
- Hosting plans priced to suit Pakistani users.
- cPanel-based website management.
- Full support for WordPress and PHP websites
- Tools for managing domains, files, and databases.
- Local-market support and payment options where applicable.
- Affordable plans for websites moving from local development to live hosting.
Your XAMPP setup gives you a place to build the website on your own computer. Live hosting gives that website a publicly accessible server where visitors can reach it.
When you are ready to take your project online, you can move your website files, database, and required configuration from XAMPP to your hosting account.
Check out our Truehost web hosting for great hosting plans.