Domain SearchInstantly check and register your perfect .pk or international domain
 Web HostingGet a .pk domain for as low as PKR 467
 cPanel HostingUser-friendly hosting powered by cPanel
 Reseller HostingLaunch your own hosting business with minimal technical requirements
 Windows HostingOptimized for Windows-based applications and websites
 Affiliate ProgramEarn referral commissions by promoting our services
 WordPress HostingFast & Reliable WordPress Hosting
 Domain TransferMigrate your existing domain seamlessly with zero downtime.
 All DomainsAccess 324+ top-level domains (TLDs) worldwide from a single platform
 Whois LookupIdentify the owner of any domain using our whois and rdap lookup tool
 Managed VPS Hosting
 AI Website BuilderCreate beautiful websites effortlessly using intuitive drag-and-drop features
 Online ShopLaunch a professional online shop with no technical skills required
 BlogDiscover expert guides on hosting, websites, SEO, and digital growth strategies
 ContactGet instant assistance via live chat or email
 SupportAccess help articles, tutorials, and service documentation
 SSL CertificatesEncrypt data, build trust, and boost SEO.
If you’re planning a conference, a wedding, a concert, a community meetup, or anything else that brings people together, you need a place where interested people can learn the details, register, and buy tickets.
That’s what an event website does.
An event website puts all your information in one place. Without one, you’re posting repeatedly on social media, answering the same questions, and managing endless direct messages.
With one, you share a link, people click it, see the date, location, schedule, and ticket button, and everything is clear.
You don’t need to know how to code to create an event website. You can build one in a few hours using ready-made tools. What you do need is a domain name, a building tool, your event details, images, and a way to collect payments.
First, we’ll go through a preparation checklist. Then we’ll compare two main approaches. Finally, we’ll give you details on how to create an event website with an AI website builder and with WordPress.
Checklist Before Creating an Event Website
- Define your main goal: Does your website sell tickets, collect RSVPs, or share information?
- Get your domain name: This is your website address, like youevent.com. Keep it short, easy to remember, and related to your event.
- Pick your platform: Two main choices: an AI website builder or WordPress. AI builders are fast and simple; WordPress is flexible and scalable, better for complex features or long-term use.
- Collect your content: Write your event name, date, time, location, description, speaker bios, schedule, ticket prices, event visuals, venue photos, speaker headshots, and your logo.
- Set up tickets and payments: Decide your ticket tiers (early bird, general, VIP) and how you’ll accept money. Payment methods vary by region, so pick the ones your audience uses.
Building with AI vs WordPress
| Factor | AI Website Builder | WordPress |
| Ease of use | Very easy, beginner-friendly | Moderate learning curve |
| Speed | Fast, builds in minutes | Slower, manual setup |
| Customization | Limited to templates | Full control |
| Scalability | Basic | Highly scalable |
| Best for | Simple, quick event sites | Complex or large events |
Create an Event Website Using an AI Website Builder
a) Choose and Sign Up for Your Preferred AI Website Builder

If you want something especially beginner-friendly and optimized for local markets, Truehost’s AI website builder is worth considering.
It’s simple: you tell the AI what your event is, answer a few simple questions, and it generates a complete website. You don’t build the site; you describe it, then AI handles the rest.
The process has three steps:
- Input your event information
- AI generates a ready-to-use website
- You go live in minutes
Truehost’s AI builder comes with practical features: smart content and image generation, AI-powered editing, WordPress CMS under the hood, eCommerce functionality, WhatsApp and Maps integration, social media connectivity, and all-in-one hosting and domains.
You also get a free instant subdomain so you can go live before your custom domain is ready.
b) Follow the AI prompts
After signing up, the AI starts asking questions. For example: What’s your event called? What type of event is it? What style do you want? What’s your goal?
The more specific your answers, the closer the generated site matches your needs. Instead of saying “a conference,” say “a two-day tech conference for startups, expecting 200 attendees, with a focus on speaker lineup and ticket sales.”
c) Wait For the AI to Build and review
Once you submit your information, the AI generates a complete website in minutes.
You get a homepage, about page, schedule page, speakers page, tickets page, and contact page, with text and images already filled in.
Now review everything carefully. Are the dates correct? Is the location right? Is the ticket pricing accurate?
Make sure every piece of information is correct.
d) Customize and Edit the Website
Now, you need to make it yours. Replace images, adjust text, change colors, rearrange sections.
Truehost’s editor supports two approaches: AI commands (such as “make the ticket button orange”) and manual drag-and-drop editing.
You can mix both depending on what feels natural.
e) Set Up Payment Methods and Polish Up
If you’re selling tickets, this step is critical. Find the payment settings and configure how you’ll collect money.
For event organizers in Pakistan and similar markets, Truehost supports local methods such as JazzCash and EasyPaisa, as well as PayPal, Stripe, and credit cards for international payments.
WhatsApp Business integration lets you communicate directly with attendees.
f) Publish Your Website
When everything is ready, hit publish. Your event website is live.
That’s the entire AI builder process: describe, generate, adjust, publish. It’s so simple, you can finish in an afternoon.
How to Create an Event Website with WordPress
1) Choose a Web Host
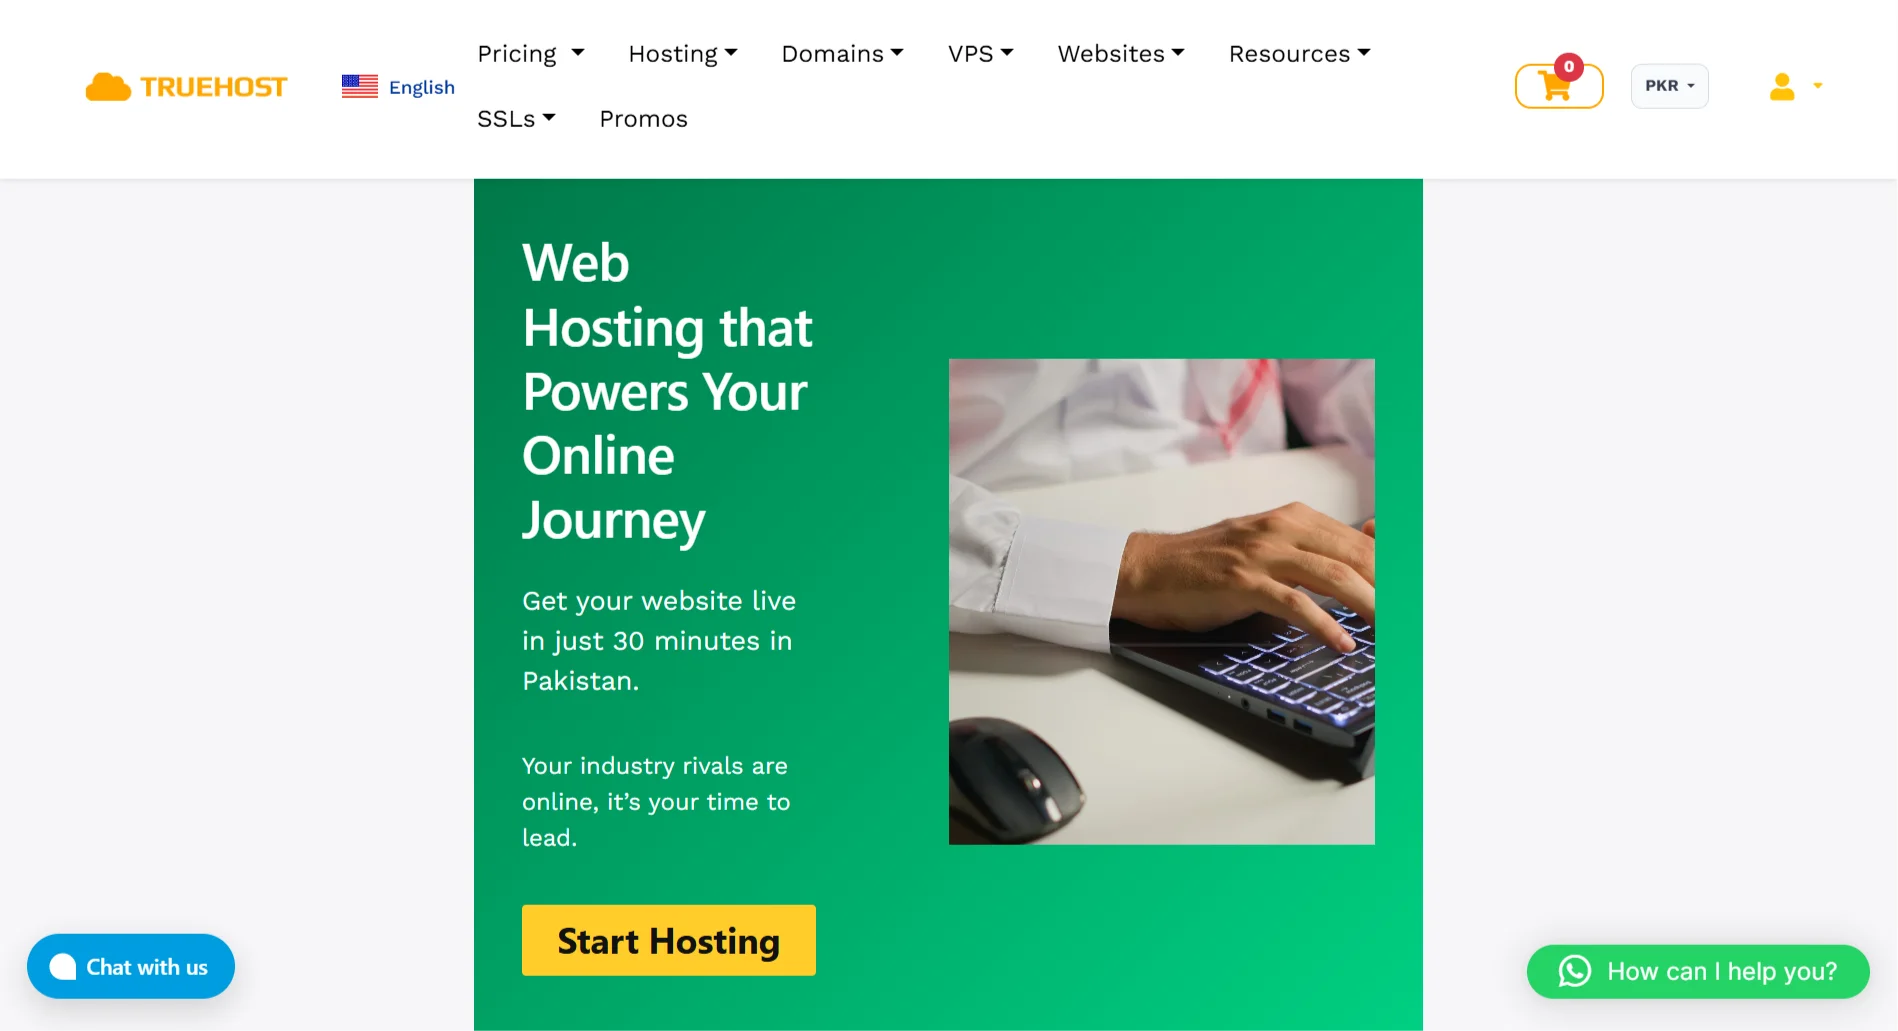
Websites need hosting. Your files, database, and images live on a server so people can access them.
At Truehost, our plans are affordable and have everything you need for an events website.
You can start with our starter plan for only ₨282.65/month.
Every plan includes high-speed SSD storage, free SSL certificates, automatic daily backups, one-click WordPress installation through Softaculous, and a cPanel dashboard.
And, our servers are optimized for local access. Free SSL, firewalls, and daily backups are in place from day one.
You can get your site live in 30 minutes without waiting.
2) Install WordPress and Pick an Event Theme.
We offer one-click WordPress installation. Find Softaculous in cPanel, click a few times, and it’s installed.
Once installed, go to the WordPress dashboard and choose an event-themed theme. WordPress has plenty of free and paid event themes.
When choosing, look at these: does it support event calendar displays, is it mobile-friendly, how fast does it load, and does it have ready-made event page templates?
3) Install Essential Plugins (ticketing, forms, SEO)
With WordPress, you need plugins to add the capabilities an event website requires. There are three main categories:
- Event management and ticketing plugins: The Events Calendar supports creating events, recurring schedules, categories, and tags. Paired with Event Tickets or Event Tickets Plus, you can sell tickets, manage RSVPs, and handle check-ins.
- Form plugins: If you need custom registration forms, WPForms or Gravity Forms can handle it. Gravity Forms is better suited for complex fields and payment integration.
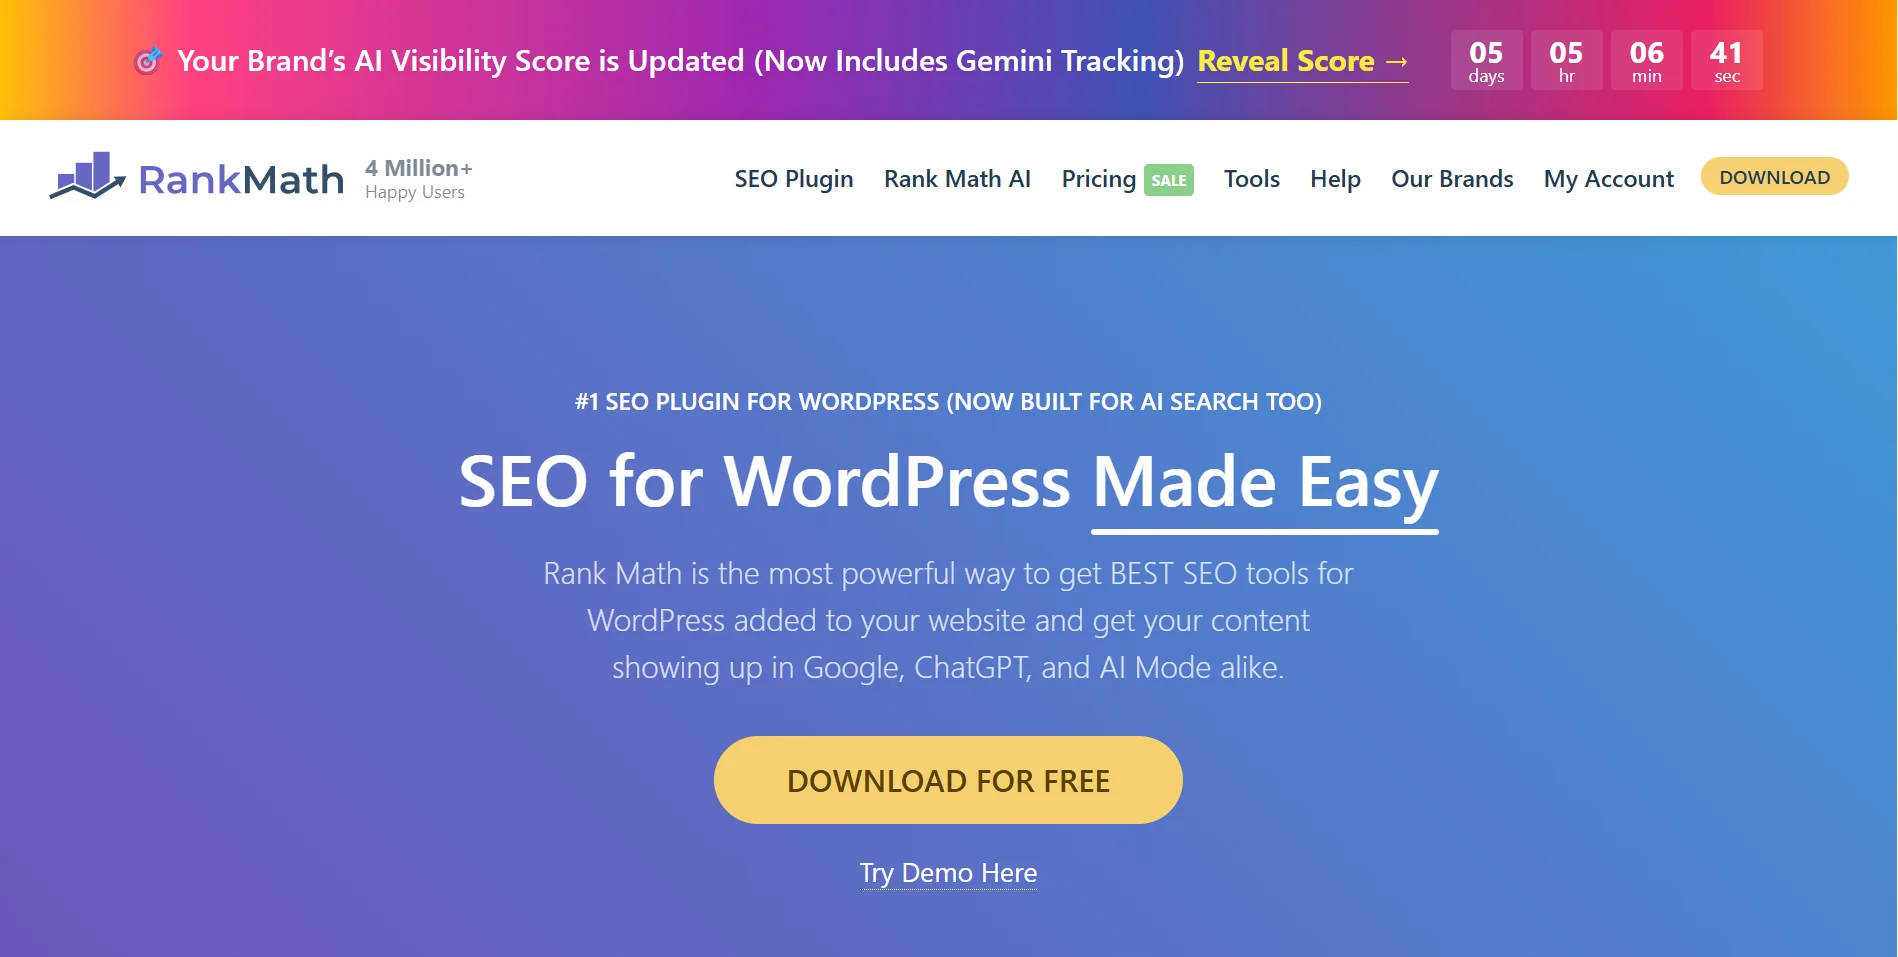
- SEO and analytics plugins: Rank Math or Yoast SEO helps optimize your event pages for search rankings. MonsterInsights tracks registration conversions and page traffic.
If you’re in Pakistan or similar markets, you’ll also need local payment gateway plugins. For example, Clicks Manual Payment Gateways supports JazzCash, Easypaisa, SadaPay, and other local methods.
You can start collecting payments without a merchant account.
4) Create Core Pages (Home, About, Schedule, Speakers, Tickets, Contact).
An event website needs these pages: Home (event overview and ticket entry), About (event description and organizer info), Schedule (timeline), Speakers (guest introductions), Tickets (pricing tiers and payment), and Contact (contact info or form).
You can create these pages using WordPress’s page editor.
The homepage should be as direct as possible: event name, date, location, a strong description, and a ticket button. Don’t make people scroll around to find key information.
5) Add Event Details (date, time, location, map)
Date, time, and location are the three basics. Write the address clearly and embed Google Maps so people can navigate directly.
Make the schedule page easy to read. Use a clear timeline or segmented display with short descriptions for each session.
For speaker bios, explain what each speaker will share and why it’s worth attending.
6) Set up ticket sales, payment gateway, and registration form.
Create ticket tiers in The Events Calendar or whichever event plugin you choose. Early bird, general admission, VIP. Set prices and quantities for each.
For payment gateways, configure local payment methods if you’re targeting a local audience.
In Pakistan, for example, Clicks Manual Payment Gateways lets you accept JazzCash and Easypaisa transfers without a merchant account. Customers upload proof of payment at checkout, and you approve it in the backend.
Keep registration forms simple: Name, email, maybe phone. That’s enough. The more fields you add, the higher the abandonment rate.
7) Optimize for mobile, speed, and install analytics
Most people will visit your event website on their phones. Test it on mobile: is the ticket button easy to tap? Is the text comfortable to read? Does it load quickly?
Optimize image sizes; don’t upload multi-megabyte photos.
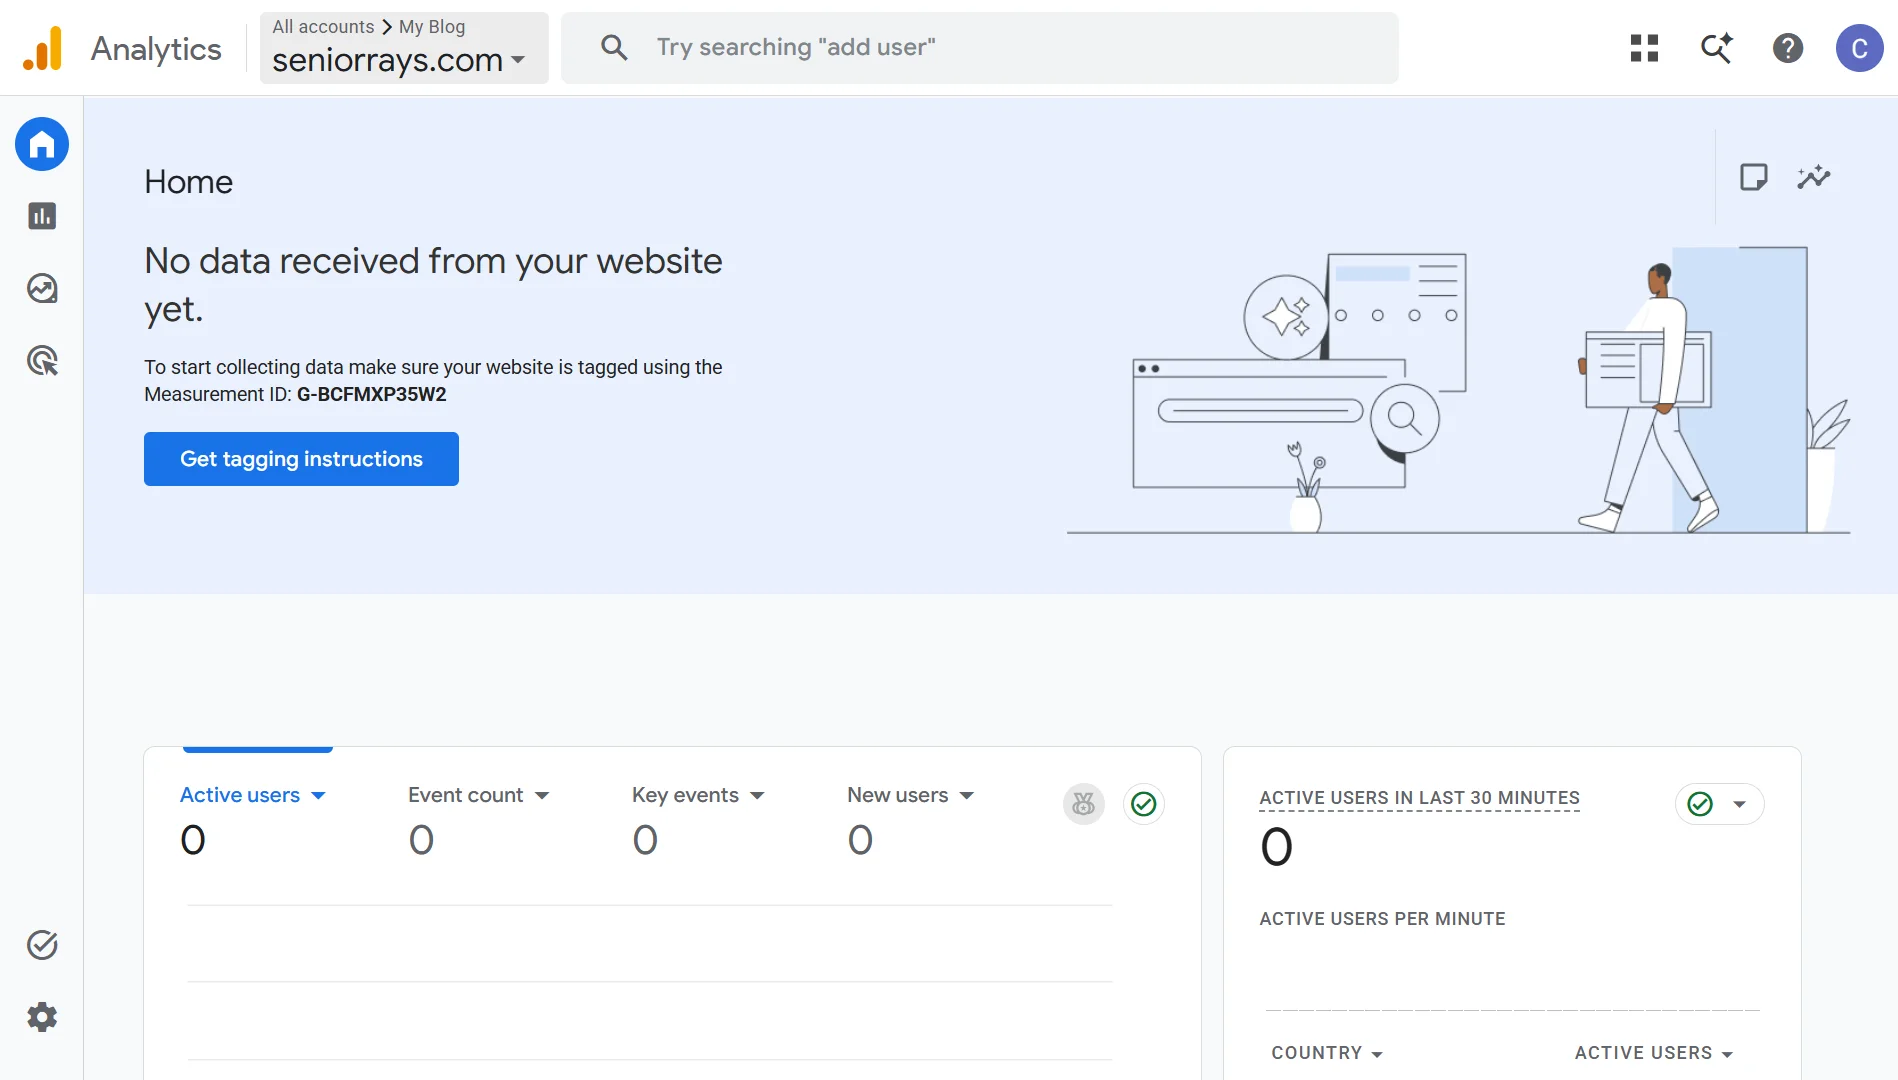
Enable caching plugins. Install Google Analytics or MonsterInsights to track page views, ticket clicks, and registration completions.
8) Test Everything, then Launch and Promote
Before going live, walk through the entire flow: browse the homepage, check the schedule, click to buy tickets, complete payment (in test mode), and receive a confirmation email. Test every step.
Once confirmed, publish the site. Then start promoting: share the link on social media, notify your email list, and ask speakers and partners to share it as well.
Create Your Ideal Event Website with Truehost
If you want the fastest way to get your event website up, our AI website builder is built for you.
You just tell the AI what your event is, answer a few questions, and it generates a complete website in minutes. No tools to learn, no developers to wait for, no complicated settings to struggle with.
Everything you need is in one place: free subdomains to custom domains, SSL security certificates, local payment integration, and SEO tools to social media connectivity.
Our hosting plans range from entry-level to Unlimited, and you can upgrade anytime as your event grows.
For event organizers in Pakistan, we’ve optimized the local experience: Pakistan-based servers for faster load times, seamless JazzCash and EasyPaisa integration for simple payments, and local SEO tools to help you reach more potential attendees.