Domain SearchInstantly check and register your perfect .pk or international domain
 Web HostingGet a .pk domain for as low as PKR 467
 cPanel HostingUser-friendly hosting powered by cPanel
 Reseller HostingLaunch your own hosting business with minimal technical requirements
 Windows HostingOptimized for Windows-based applications and websites
 Affiliate ProgramEarn referral commissions by promoting our services
 WordPress HostingFast & Reliable WordPress Hosting
 Domain TransferMigrate your existing domain seamlessly with zero downtime.
 All DomainsAccess 324+ top-level domains (TLDs) worldwide from a single platform
 Whois LookupIdentify the owner of any domain using our whois and rdap lookup tool
 Managed VPS Hosting
 AI Website BuilderCreate beautiful websites effortlessly using intuitive drag-and-drop features
 Online ShopLaunch a professional online shop with no technical skills required
 BlogDiscover expert guides on hosting, websites, SEO, and digital growth strategies
 ContactGet instant assistance via live chat or email
 SupportAccess help articles, tutorials, and service documentation
 SSL CertificatesEncrypt data, build trust, and boost SEO.
Buying a domain name and hosting does not automatically put your website online. You need to connect the domain to your hosting first. Otherwise, your domain is registered, but it does not know where your website is located.
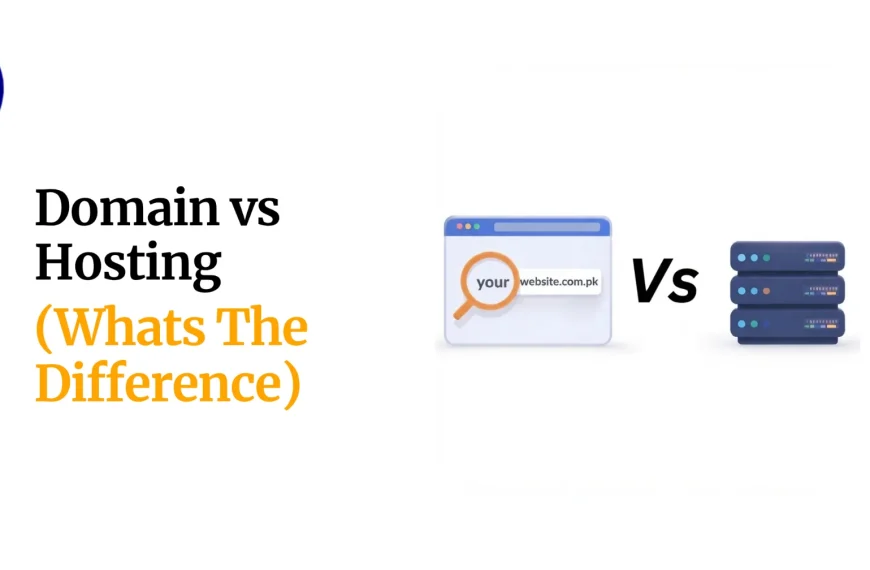
A simple way to think about it is this: your domain (yoursite.com) is your website’s address, while hosting is the place where your website files are stored. DNS connects the two and tells browsers where to find your website.
There are two common ways to connect them:
a) Change the nameservers to your hosting provider’s nameservers. This lets your hosting provider manage your domain’s DNS settings. It is usually the easiest option for beginners.
b) Update DNS records such as the A record or CNAME record at your domain registrar. This keeps DNS management with your registrar and is useful if you already have email, subdomains, or other services set up there.
For most websites, changing the nameservers is the simplest option. Once it is done, your hosting provider handles the necessary DNS settings for you.
If you need more control or already have other services connected to your domain, updating individual DNS records may be a better choice.
This guide explains both methods, how to check that the connection is working, and how to enable HTTPS so your website loads securely.
What You Need Before Connecting Your Domain
Before touching any settings, make sure you have:
- A registered, active domain. Confirm it hasn’t expired and that you have login access to the account it was registered under.
- Web hosting already set up. This could be shared hosting, a VPS, cloud hosting, or an all-in-one website builder; the connection steps differ slightly depending on which you use.
- Login access to both accounts. You’ll need to get into your domain registrar (where you bought the domain) and your hosting provider (where your site files or builder live). If someone else manages either account, get credentials or ask them to make the changes alongside this guide.
Basic DNS Terms to Know
A handful of terms come up repeatedly when connecting a domain. It’s worth knowing them before you start clicking around a DNS panel:
- DNS (Domain Name System): The system that translates a human-readable domain into technical information, such as a server address.
- Nameservers: The servers that tell the internet which company or service manages a domain’s DNS records. Changing nameservers changes who controls all of your DNS settings.
- A record: Points a domain to a specific IPv4 address (the numeric address of a server).
- AAAA record: The IPv6 equivalent of an A record, used by newer server addresses.
- CNAME record: Points a subdomain (like
www) to another hostname, rather than directly to an IP address. - MX records: Direct where your domain’s email gets delivered. If these are wrong or missing, email stops working even if the website loads fine.
- TXT records: Used for verification and email security protocols such as SPF, DKIM, and DMARC, and sometimes to prove domain ownership to a service.
- TTL (Time to Live): How long DNS information is cached by other servers before they check for updates. Lower TTL means changes take effect faster; higher TTL means more caching and slightly slower updates.
Method A: Connecting via Nameservers (Step-by-Step)
This is the more common approach, particularly if your host handles DNS management for you.
- Get the nameserver addresses from your hosting provider. These usually look something like
ns1.yourhost.comandns2.yourhost.com. Your host’s dashboard or welcome email will list them. - Log in to your domain registrar, the company where you purchased the domain (this may or may not be the same company as your host).
- Locate the “Nameservers” or “Custom DNS” section, usually found under your domain’s management or DNS settings page.
- Replace the default nameservers with your host’s nameservers. Remove any existing entries and enter the new ones exactly as your host provided them; typos here are one of the most common causes of connection failures.
- Save and confirm the change.
Important trade-off to flag: switching nameservers hands over all DNS management to your new host, not just the website. That includes MX records for email, TXT records for verification and email security, and any subdomains you’ve set up. If you currently have custom email (through Google Workspace, Microsoft 365, or another provider) or subdomains pointing elsewhere, you’ll need to recreate those same records inside your new host’s DNS panel after switching, or that email and those subdomains will break. If you’d rather not touch any of that, Method B is the safer path.
Method B: Connecting via A Record / CNAME (Step-by-Step)
Use this method when you want to keep DNS management at your registrar and only redirect the website itself.
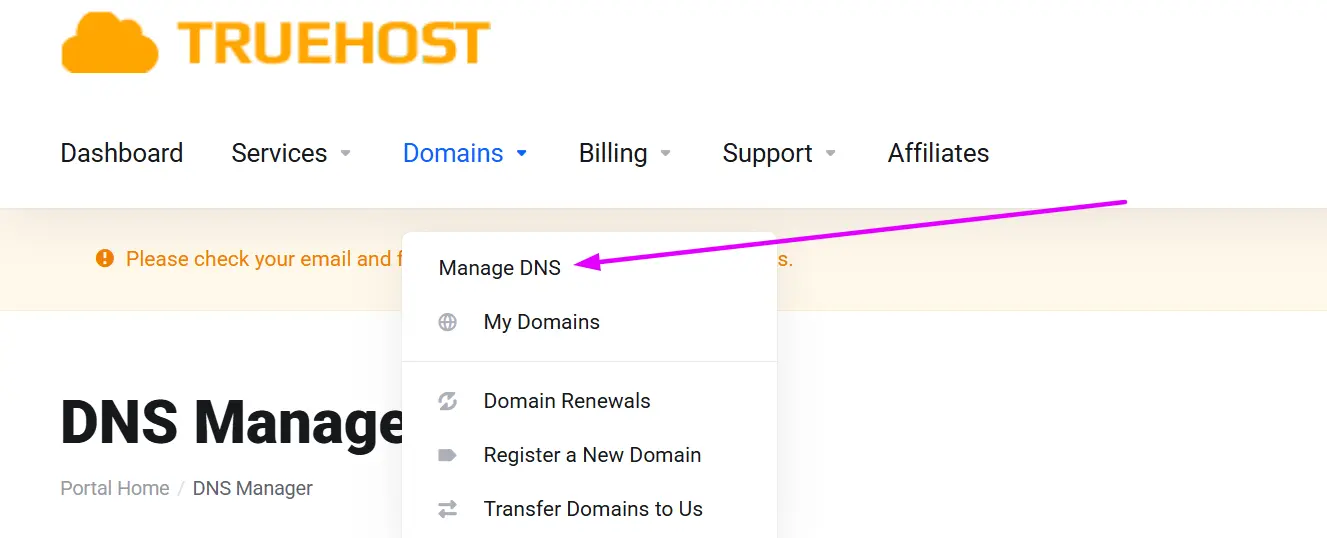
- Get your hosting server’s IP address (for an A record) or hostname (for a CNAME) from your hosting provider’s dashboard or setup instructions.
- Log in to your registrar and open the DNS Management, DNS Zone Editor, or Advanced DNS section.
- Add or edit the root A record: set the Name/Host to @ and the Value to your server’s IP address. This controls what loads when someone visits
yoursite.comwithout thewww. - Add or edit the www CNAME record: set the Name to www and the Value to your root domain or the hostname your host provides. This controls what loads at
www.yoursite.com. - Remove conflicting old A or CNAME records that point to a previous host or placeholder page; leftover records are a common reason a domain seems “half connected.”
- Save your changes.
- Leave MX and other existing records untouched if you’re keeping your current email setup; this is the main advantage of this method over switching nameservers.
Post-Connection: Confirming It Worked + SSL/HTTPS
Once you’ve saved your changes, don’t expect the site to appear instantly everywhere. A few checks and one more setup step will get you fully live.
- Confirm propagation. Use a DNS checker tool such as
whatsmydns.netto see whether your updated A/CNAME records or nameservers have propagated across DNS servers globally. These tools show results from multiple locations worldwide, which is useful because propagation doesn’t happen everywhere at once. - Expect some wait time. Propagation typically takes anywhere from 15 minutes to 48 hours, depending largely on the TTL value set on the previous records. If the old TTL was long, some visitors (and you) may see the old site briefly even after saving correct new records.
- Visit your site directly. Load both yoursite.com and www.yoursite.com to confirm they resolve correctly. It’s common for one version to work before the other if only one record was updated.
- Install an SSL certificate. Once DNS has propagated, set up SSL/HTTPS so your site loads securely as
https://rather thanhttp://. Many hosts now offer free, auto-installed certificates through Let’s Encrypt, so this is often a one-click step in your hosting dashboard rather than a manual process.
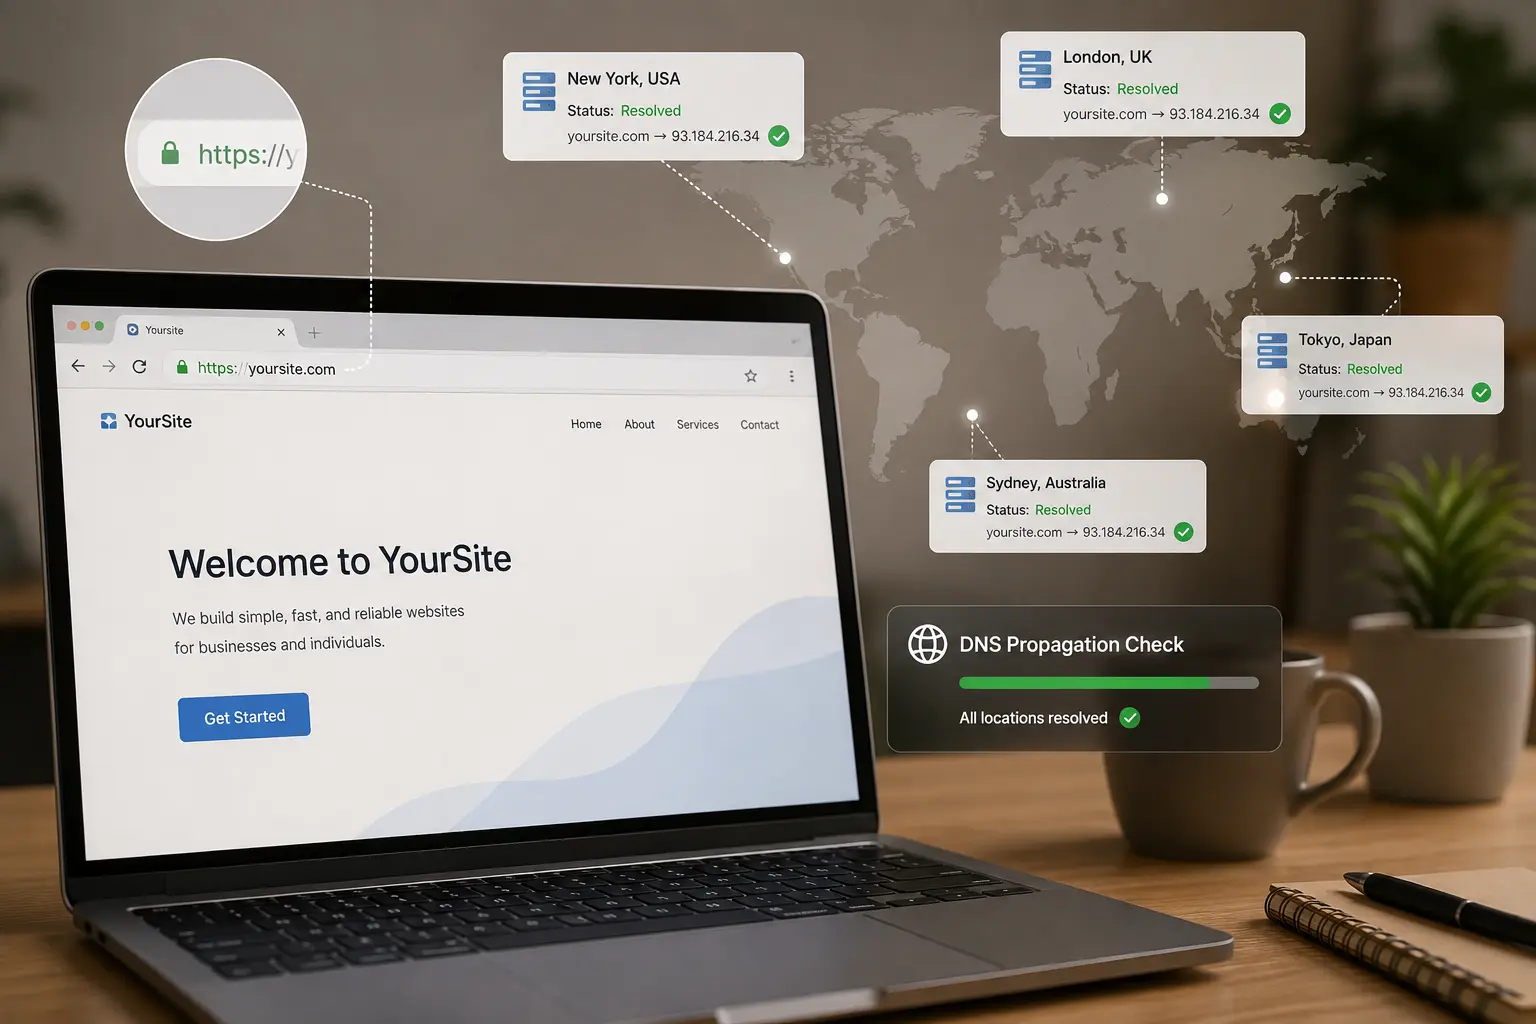
This last step counts more than it might seem: modern browsers actively flag non-HTTPS sites as “Not Secure” in the address bar, which can undermine visitor trust and hurt search visibility. It’s worth doing as soon as DNS is confirmed, not weeks later.
Troubleshooting
| Issue | Common Cause | Solution |
| Site not loading after 48 hours | Typos in DNS records or unsaved changes | Double-check every record for typos and confirm the nameservers or A/CNAME values were actually saved. |
| “Too many redirects” or SSL errors | Mismatched SSL settings or conflicting A records | Adjust your host or CDN’s SSL mode (for example, Cloudflare’s SSL/TLS setting) and remove any conflicting A records. |
| www works but root domain doesn’t (or vice versa) | A missing or misconfigured record for one version | Add or fix the missing A record (root) or CNAME (www), so both versions point correctly. |
| Email stopped working after switching nameservers | Missing MX records at the new host | Recreate the original MX records inside your new nameserver dashboard; this is the most common casualty of Method A. |
| Old site still showing | Stale local DNS cache or browser cache | Try an incognito/private window, or flush your local DNS cache, before assuming the DNS change itself failed. |
Connect Your Domain and Get Your Website Online
At the end of the day, connecting a domain comes down to one decision: how much control do you want to hand over? Point your nameservers if you want your host to manage everything and you’re starting fresh. Stick with A and CNAME records if you’ve already got email or subdomains running and don’t want to touch them. From there, it’s just a waiting game: let propagation finish, double-check with a DNS checker, and lock things down with an SSL certificate. Do that, and your domain and hosting stop being two separate pieces and start being one live, working website.
Ready to register or manage your domain? Get started with Truehost →
Connect a Domain Name to a Website FAQs
Can I connect a domain to a website for free?
Yes, in most cases. Registrars and hosts don’t typically charge extra to change nameservers or edit DNS records; it’s usually included as part of your existing domain registration and hosting plans. The main costs you’re already paying are the domain registration itself and your hosting plan.
Can I connect one domain to multiple sites or subdomains?
Yes. A single domain can point its root (yoursite.com) to one site while subdomains (like blog.yoursite.com or shop.yoursite.com) point to different hosts or services, each configured with its own A or CNAME record.
Will changing DNS affect my email?
It can, particularly if you switch nameservers (Method A), which transfers control of MX records to your new host. If those MX records aren’t recreated correctly, email delivery will break. Editing only A/CNAME records at your registrar (Method B) leaves MX records untouched and is the lower-risk option for preserving existing email.
How long until my site is live?
Once you save your DNS changes, propagation typically takes between 15 minutes and 48 hours, depending on the TTL of your previous records. Most changes are visible in an hour or two, but full global propagation can occasionally take the full 48 hours.
Do I need to keep my domain and hosting with the same company?
No. It’s very common to register a domain with one company and host your website with a completely different one; that’s exactly what both connection methods in this guide are designed to handle.