Domain SearchInstantly check and register your perfect .pk or international domain
 Web HostingGet a .pk domain for as low as PKR 467
 cPanel HostingUser-friendly hosting powered by cPanel
 Reseller HostingLaunch your own hosting business with minimal technical requirements
 Windows HostingOptimized for Windows-based applications and websites
 Affiliate ProgramEarn referral commissions by promoting our services
 WordPress HostingFast & Reliable WordPress Hosting
 Domain TransferMigrate your existing domain seamlessly with zero downtime.
 All DomainsAccess 324+ top-level domains (TLDs) worldwide from a single platform
 Whois LookupIdentify the owner of any domain using our whois and rdap lookup tool
 Managed VPS Hosting
 AI Website BuilderCreate beautiful websites effortlessly using intuitive drag-and-drop features
 Online ShopLaunch a professional online shop with no technical skills required
 BlogDiscover expert guides on hosting, websites, SEO, and digital growth strategies
 ContactGet instant assistance via live chat or email
 SupportAccess help articles, tutorials, and service documentation
 SSL CertificatesEncrypt data, build trust, and boost SEO.
Traffic spikes, more content, or a slow website are common signs that it may be time to upgrade your hosting plan. Upgrading can give your site more resources, improve performance, and prepare it for future growth.
Most hosting providers let you upgrade your account. You may also pay only the difference for the remaining billing period, depending on the provider and plan.
This guide explains how to upgrade a hosting plan.
Step-by-Step Process to Upgrade Your Hosting Plan
Upgrading your hosting plan is done through the Client Area. The process is simple:
Before you begin
A few minutes of preparation prevents most upgrade problems:
- Take a fresh backup of your files and databases, even though an upgrade shouldn’t touch them.
- Note your current plan’s limits and your recent resource usage, so you can pick a plan that fixes the actual bottleneck.
- Check your plan is current. Some providers, such as InMotion Hosting, require your hosting plan to be current when you upgrade or downgrade.
- Pick a quiet time, ideally when traffic is low, in case you need to check something afterward.
1) Log into the customer portal/control panel (hPanel, Client Area, AMP, etc.)
Go to the website and log in with your account email and password.
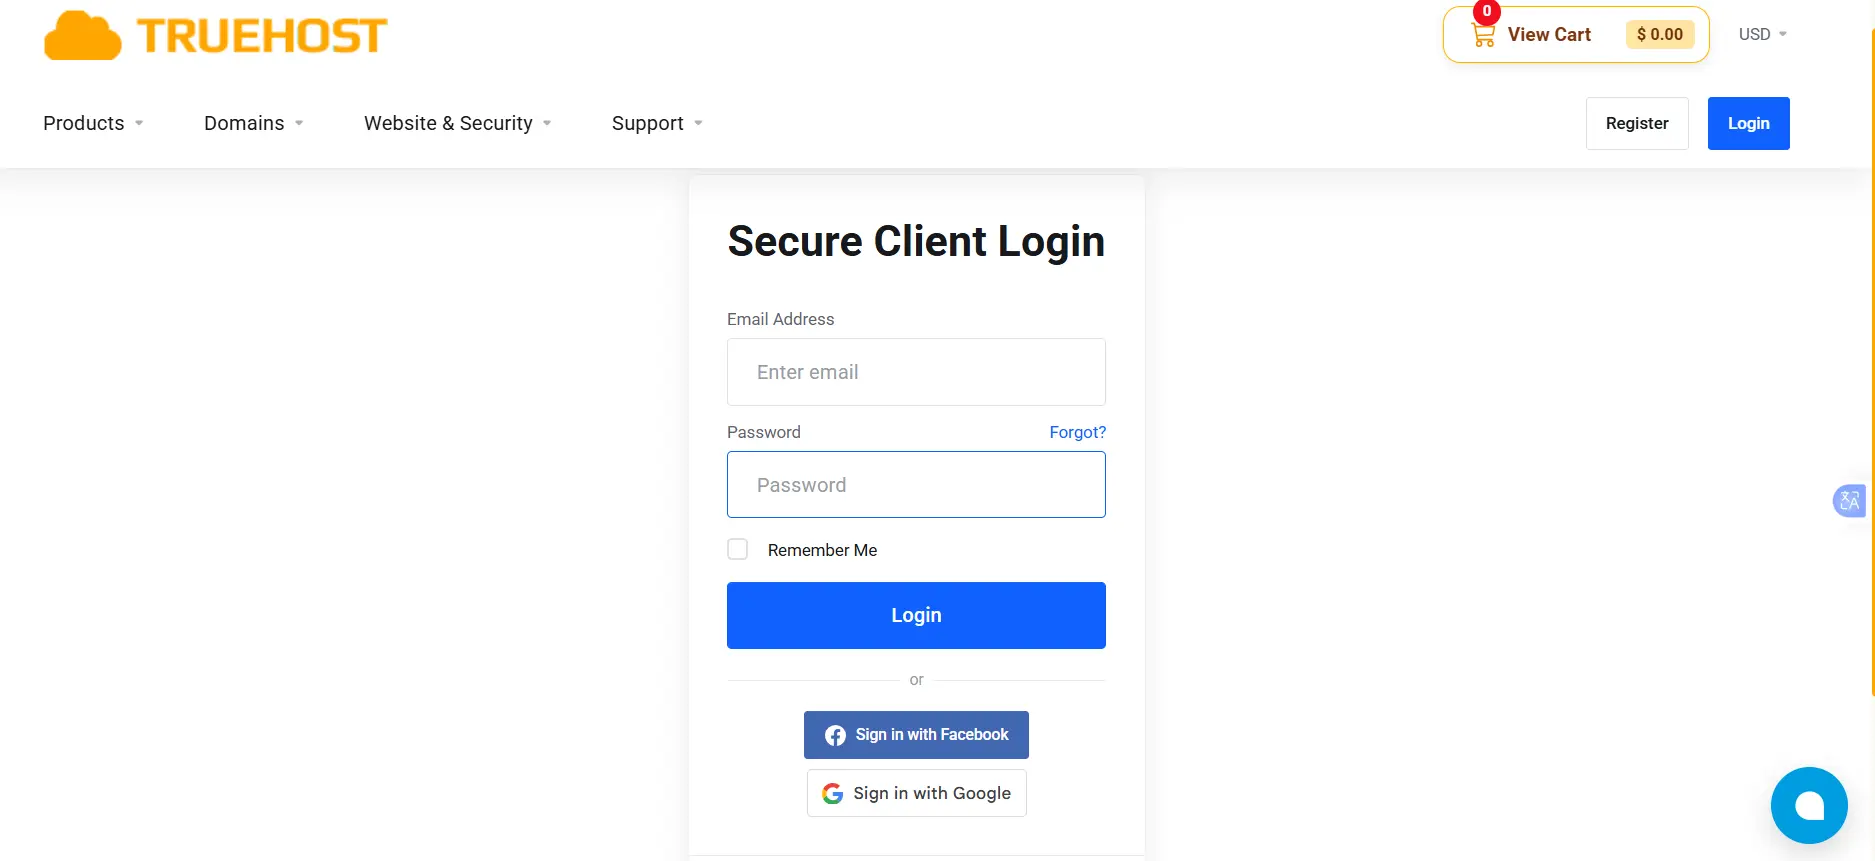
At Truehost, you manage your services through the Client Area. Click the login button in the top-right corner of the website, then enter your email and password. If you can’t remember your login details, check the welcome email sent when you set up your account, since that’s where your Client Area credentials were sent.
If you’ve forgotten your password, you can use the chat feature to request a reset.
2) Open your hosting services
Go to My Services or Products/Services to see your active hosting plans.
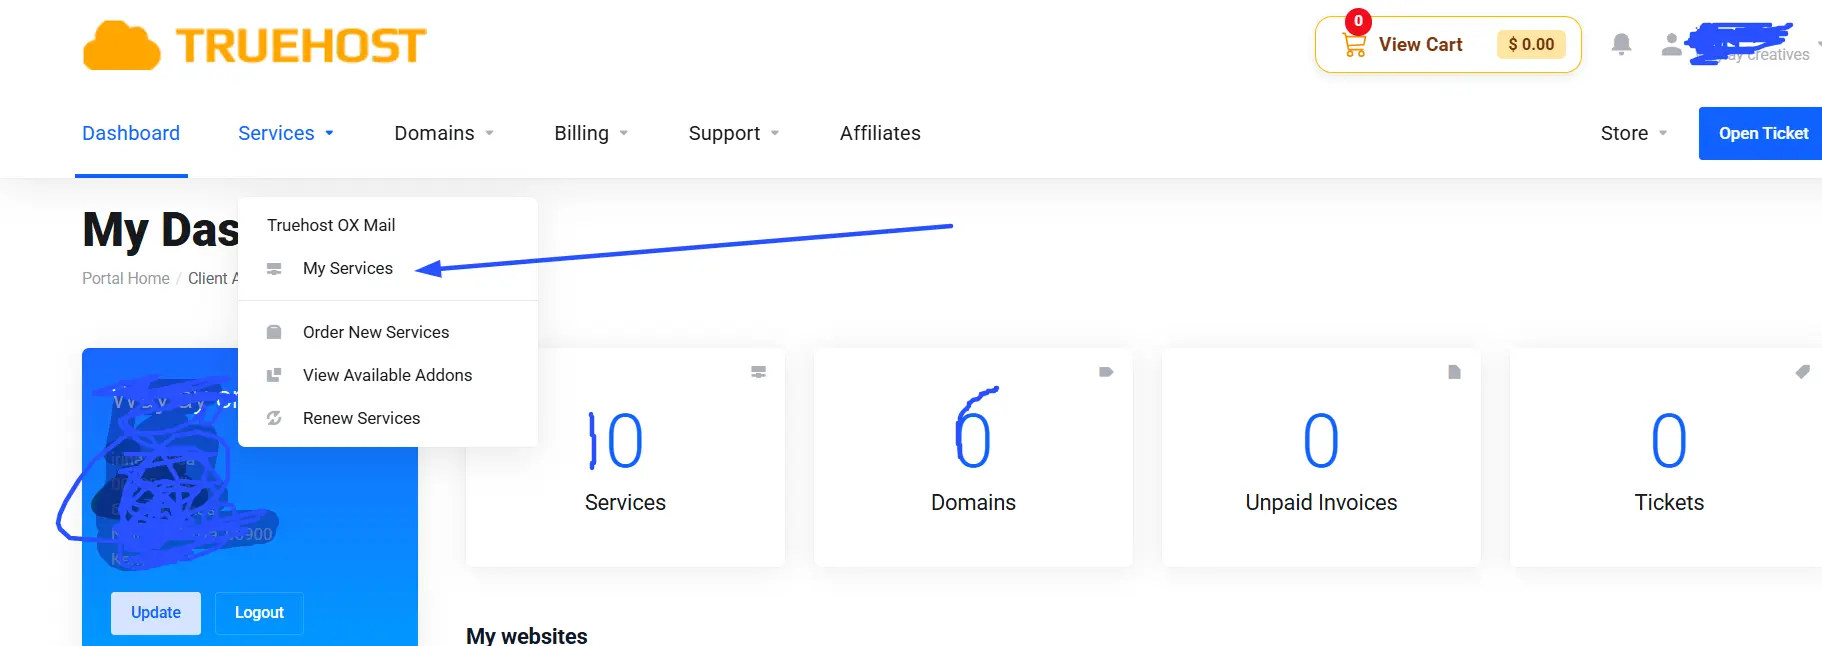
Labels vary. In hPanel, for example, your plans appear under Websites and under Billing → Subscriptions. If you have several plans, make sure you’re opening the one that hosts the site you want to upgrade.
3) Select the hosting plan
Click the hosting plan you want to upgrade, then select Upgrade/Downgrade.
In the Client Area, click the plan you want to upgrade to open its service page. Look for the overview menu on the left side of the page (you may need to scroll down a little) and click Upgrade/Downgrade. Depending on your version of the Client Area, this option may be labeled simply “Upgrade.”
Your services list includes domains, hosting packages, and add-ons, so make sure you open the hosting plan itself, not the domain. If you can’t find the option, ask support through live chat.
4) Choose a new plan
Review the available plans and choose the one with the resources you need, such as more storage, CPU, RAM, or websites.
Match the plan to the problem you diagnosed earlier. If pages slow down under traffic, prioritize CPU and RAM. If you’re out of space, prioritize storage. If you’re adding sites, look at website limits.
Also check which upgrade path applies to you. Within Truehost’s shared hosting, the path is direct. Starter packs are designed to be upgradable, so you can move to a Pro or Unlimited plan whenever you need more resources.
5) Review the price and pay
Check the upgrade cost and select your preferred payment method. If applicable, your hosting provider will calculate the amount based on the remaining time on your current plan.
With some providers, the upgrade price is worked out from a credit for the unused portion of your current plan, set against the new plan’s price for the same period. You aren’t paying the new plan’s full price on top of what you’ve already paid.
At checkout, you’ll choose your billing cycle, enter a promotion code if you have one, select a payment method, and continue. Truehost generates an invoice for the upgrade, and the new plan is activated once your payment is processed.
Take a moment to think about the billing cycle. Truehost offers monthly, quarterly, semi-annual, annual, two-year, and three-year cycles, and the longer you commit, the lower your effective monthly rate. That’s why the price you see advertised is often a per-month figure tied to a long term.
The plans, for example, show their lowest monthly price when billed triennially. Renewals count too. Truehost’s renewal rates are the same as its standard rates, with no surprise increase after your first term. Its hosting page also mentions loyalty credit to reduce your next cost. Check the total for the term you choose, not just the monthly figure.
6) Wait for the upgrade
Once payment is confirmed, the new plan is activated. Same-type upgrades, such as Starter to Pro, are usually quick and should not affect your website, emails, or databases.
Timing depends on the type of upgrade. For same-type upgrades, it usually takes a few minutes, and the change happens with zero or near-zero downtime.
One exception is worth knowing about. If your upgrade changes the type of hosting, such as shared hosting to a VPS, your site moves to a different server. That can cause a short interruption while your DNS updates, and your site resumes once it’s done. A VPS typically has its own IP address, so update any DNS A records or other IP-based settings that point to your old server. DNS changes can take up to 24 hours to propagate fully, so avoid other big changes during that window.
After the upgrade
After the upgrade, check your control panel to confirm the new resources are available. Test your website, emails, and other important features to make sure everything is working properly.
A quick checklist:
- Resources: Confirm the new storage, CPU, RAM, and site limits show in your dashboard.
- Website: Load your homepage and key pages, then test forms, logins, search, and checkout.
- Email: Send and receive a test message. If your IP or hosting type changed, verify your MX, SPF, and DKIM records are still correct.
- Security: Confirm your SSL certificate is active and there are no mixed-content warnings.
- Performance: Re-run a speed test and compare it with your earlier results.
- Monitoring: Watch resource usage for a week or two to confirm the new plan has enough headroom.
If upgrading isn’t the right fix
Sometimes the plan isn’t the problem. Before you pay for more resources, or alongside an upgrade, consider these:
- Optimize first. Enable caching, compress images, update PHP, remove unused plugins, and clean up your database. Many “outgrown” sites are just inefficient.
- Add a CDN to serve static files from locations closer to your visitors.
- Ask about temporary options. If you’re facing a short-term traffic spike or a large import, ask Truehost support whether a temporary solution is available for your plan before committing to a permanent upgrade. Scheduling heavy tasks like big imports or backups for off-peak hours can also ease the load.
- Move to a different type of hosting. If you’ve outgrown shared plans entirely, VPS, cloud, or managed WordPress hosting gives you more control and isolation.
- Switch providers. If your host can’t meet your needs at a fair price, migrating is an option, but plan it carefully.
Ready to Upgrade Hosting Plan?
Upgrading your hosting plan is one of the simplest ways to fix a slow site and give it room to grow. Choose the plan that matches the bottleneck, whether that’s CPU, RAM, storage, or the number of sites. Then confirm the price, complete the payment, and test your site once the upgrade is live. Most same-type upgrades are quick and leave your website, emails, and databases untouched.
If your site is slowing down, running low on space, or getting more visitors than your current plan can handle, now is a good time to move up.
Compare Truehost’s hosting plans and find the right fit for your website.
How to Upgrade Hosting Plan FAQs
Will upgrading cause downtime?
Usually not. Same-type upgrades, such as Starter to Pro on the same platform, typically move your files, emails, and databases automatically, so your site should stay online. Changes that involve a different architecture, such as moving to a VPS or a new server or IP, are more likely to involve manual migration and possible brief interruptions. If you’re worried, ask your provider whether your specific upgrade path is seamless, and schedule it for a low-traffic time. Short interruptions also aren’t a search-ranking disaster. Google has said that extended periods of 503 responses reduce crawl rate, while brief downtime is acceptable.
Can I downgrade later if I over-provisioned?
Often yes, but the rules vary by provider. InMotion’s AMP handles both upgrades and downgrades through the same Change Hosting Plan option. Hostinger’s downgrade tool adds any prorated amount to your account balance, keeps your current billing period, and is currently available to customers on its Hostinger.co.uk brand. It may also refuse a downgrade if your resource usage exceeds the lower plan’s limits. Check your provider’s policy before upgrading, and note that some hosts require you to contact support or wait until renewal.
Does upgrading affect my SEO rankings?
Not directly. Google’s Gary Illyes has said that if a site stays resolvable and downtime is minimal, changing hosts shouldn’t hurt rankings, and a same-provider upgrade is a smaller change than a host switch. A well-chosen upgrade can help indirectly through faster response times and better uptime. To stay safe, keep your URLs unchanged, make sure DNS and SSL still work if your IP changes, and check that pages load correctly afterward.
How long does a hosting upgrade typically take?
Often anywhere from a few minutes to a few hours. Hostinger notes an upgrade can take a few hours to complete, and InMotion says timing depends on the request and that you’ll be emailed when it finishes. If you also update DNS records, allow up to 24 hours for them to propagate fully.
Can a web hosting starter pack be upgraded?
In most cases, yes. Entry-level hosting plans are designed for smaller websites, so you can usually upgrade to the next plan as your website grows. Moving to a higher plan within the same hosting type is often the simplest option. However, some hosting products may have different upgrade processes. VPS, agency, and enterprise plans may require a separate order or account change. If you signed up for a promotional package, check with your hosting provider to confirm which plans you can upgrade to and whether the price will change when the promotion ends.