Domain SearchInstantly check and register your perfect .pk or international domain
 Web HostingGet a .pk domain for as low as PKR 467
 cPanel HostingUser-friendly hosting powered by cPanel
 Reseller HostingLaunch your own hosting business with minimal technical requirements
 Windows HostingOptimized for Windows-based applications and websites
 Affiliate ProgramEarn referral commissions by promoting our services
 WordPress HostingFast & Reliable WordPress Hosting
 Domain TransferMigrate your existing domain seamlessly with zero downtime.
 All DomainsAccess 324+ top-level domains (TLDs) worldwide from a single platform
 Whois LookupIdentify the owner of any domain using our whois and rdap lookup tool
 Managed VPS Hosting
 AI Website BuilderCreate beautiful websites effortlessly using intuitive drag-and-drop features
 Online ShopLaunch a professional online shop with no technical skills required
 BlogDiscover expert guides on hosting, websites, SEO, and digital growth strategies
 ContactGet instant assistance via live chat or email
 SupportAccess help articles, tutorials, and service documentation
 SSL CertificatesEncrypt data, build trust, and boost SEO.
Moving from shared hosting to a VPS usually happens for the same reason: your website has grown past what a shared plan can comfortably handle, and you need more resources, more control, or more flexibility. Done carefully, the move can be smooth. Done in a rush, it can cause downtime, missing files, broken databases, incorrect permissions, configuration problems, DNS issues, or interrupted email.
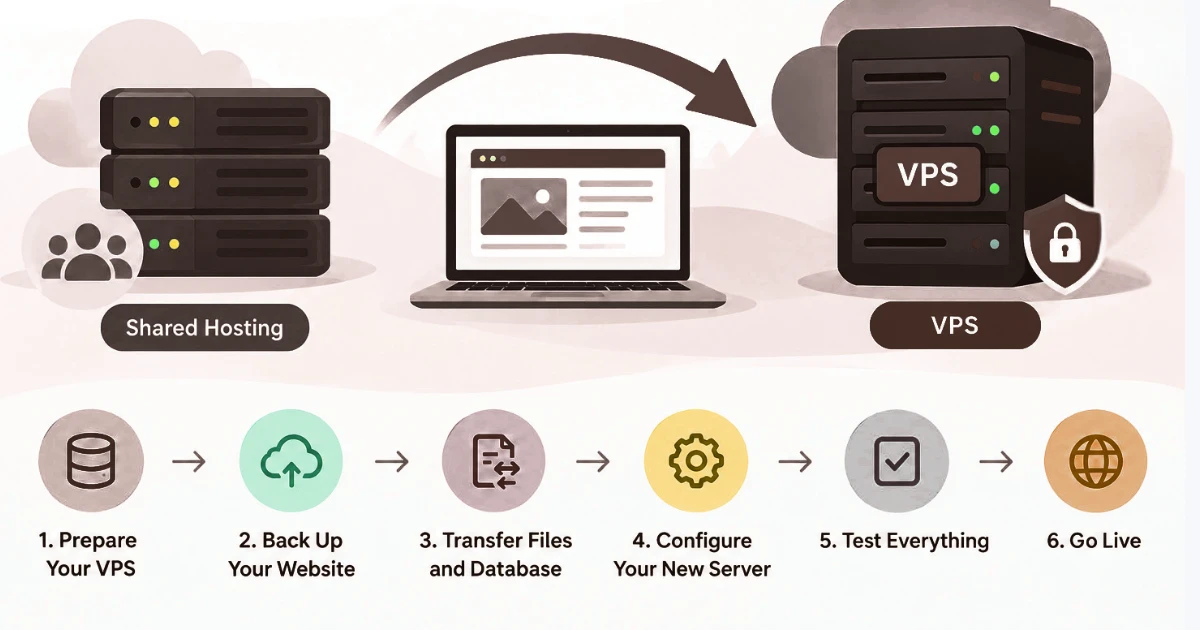
None of that is inevitable. It comes down to preparation. This article walks through the process in eight steps: preparing the VPS, backing up the existing website, transferring the website files, moving the database, configuring the website on the new server, testing everything, updating DNS, and monitoring the website after migration.
The single most important principle running through all of this: get the new VPS fully working and tested before you point your domain at it. That one habit prevents most of the problems people run into during a hosting migration.
Already have your VPS picked out? Compare VPS Hosting Plans with Truehost Pakistan
Step 1. Choose and Set Up Your VPS
Pick your VPS based on what your website actually needs now, and where it’s realistically headed, not just its current traffic on a quiet day.
- CPU requirements for your workload
- RAM requirements, particularly if you run a database-driven site
- Storage requirements for files, media, and databases
- Bandwidth requirements based on your traffic and content type
- Current website traffic and growth trends
- Specific requirements of your CMS or application
- Operating system compatibility with your software stack
Choose an operating system that actually supports your website and the tools you plan to run on it. If you are moving a WordPress site, for example, make sure whatever PHP version you plan to install is still within PHP’s own supported version window, since running an end-of-life PHP version creates unnecessary security risk. If you are still on the fence about whether you have genuinely outgrown shared hosting, it’s worth confirming your resource usage is consistently maxed out rather than assuming a VPS is the only path forward.
Once you have chosen a plan, prepare the server itself before touching your actual website:
- Set up server access and secure your administrator or root login
- Apply basic security measures (firewall rules, disabling unused services, and so on)
- Install the web server your website needs
- Install the required database software
- Install PHP or whatever application runtime your site depends on
- Install any required extensions or modules
- Configure any other services your website relies on
VPS setup looks different depending on whether you’ve chosen managed or unmanaged hosting. A managed VPS often comes with more of this handled for you. An unmanaged VPS generally starts as a bare server, so don’t assume a control panel, web server, database, PHP, or SSL is already installed just because you’re on a VPS now. Get all of this working and confirmed before you start migrating anything.
Step 2. Back Up Your Website and Database
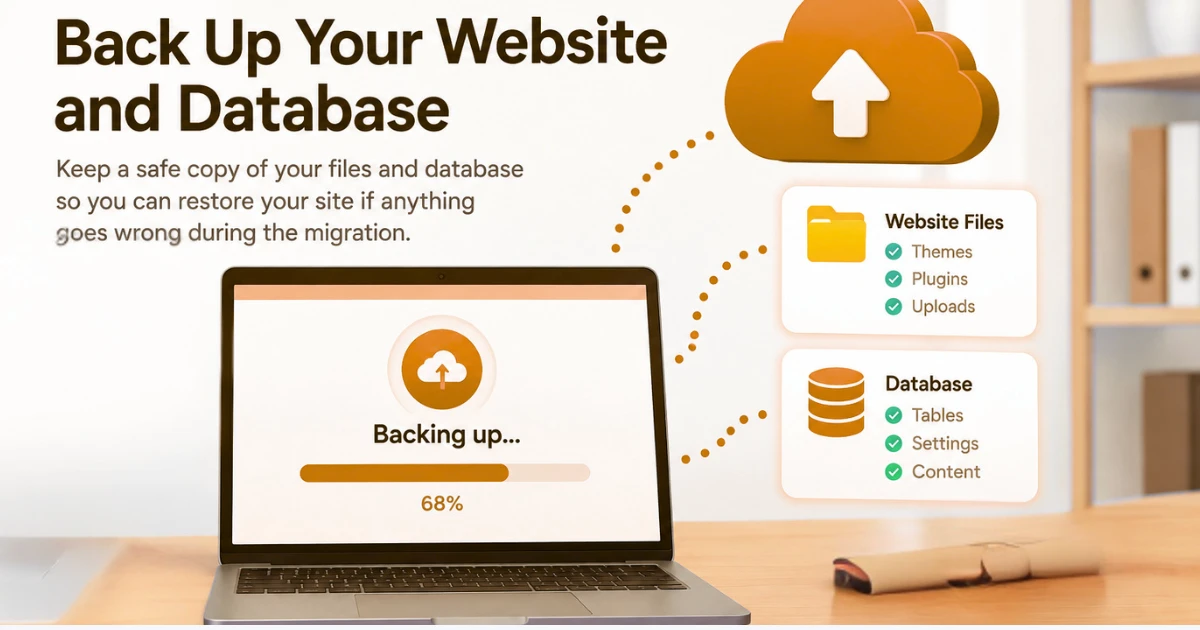
Create a complete backup before you change anything on either the old or new environment. A backup is a recovery point, not a formality you can skip if you’re confident.
Back up:
- Website files
- Database
- Configuration files
.htaccessor equivalent server configuration files, where applicable- Application-specific settings
- Any other important website data
Your website depends on both files and database together, so back up both, not just whichever one feels more important. A few habits worth following:
- Keep a separate copy of the backup somewhere other than the original server
- Verify the backup is actually complete, not just that a file exists
- Confirm the database export finished successfully and isn’t truncated
- Don’t delete the original website until the migration is fully confirmed working
Step 3. Transfer Your Website Files to the VPS
There are a few common ways to move files from shared hosting to a VPS: downloading everything from your shared hosting account and uploading it to the VPS, using secure file transfer methods like SFTP, using command-line transfer tools if you’re comfortable with them, or using your hosting control panel’s built-in migration tools if one is available.
Whichever method you use, files need to land in the correct website directory on the VPS, with attention to:
- File ownership
- File permissions
- Hidden files (these are easy to miss)
- Configuration files
- Uploaded media
- Application-specific files
Missing hidden or configuration files is a common cause of a website that looks like it transferred fine but doesn’t actually work. Check for these specifically rather than assuming a successful-looking file count means everything came across.
Step 4. Move Your Database to the VPS
Database migration follows a fairly consistent sequence, even though the specific tools differ depending on what database technology your site uses (not every website runs MySQL or MariaDB, so confirm what yours actually needs before assuming).
- Export the existing database from your shared hosting account
- Create the corresponding database on the VPS
- Create a database user for that database
- Assign that user the appropriate permissions
- Import the database backup into the new database
- Update your website’s configuration with the new database details
- Test the database connection before moving on
Database names, usernames, passwords, hostnames, and ports will often be different on the new server. For WordPress and similar CMS platforms, this usually means updating the site’s configuration file (wp-config.php in WordPress’s case) with the new credentials. WordPress.org’s own documentation on editing wp-config.php is worth reviewing if you haven’t touched this file before, since getting the database host, name, username, and password exactly right is what determines whether your site connects at all.
Step 5. Configure Your Website on the VPS
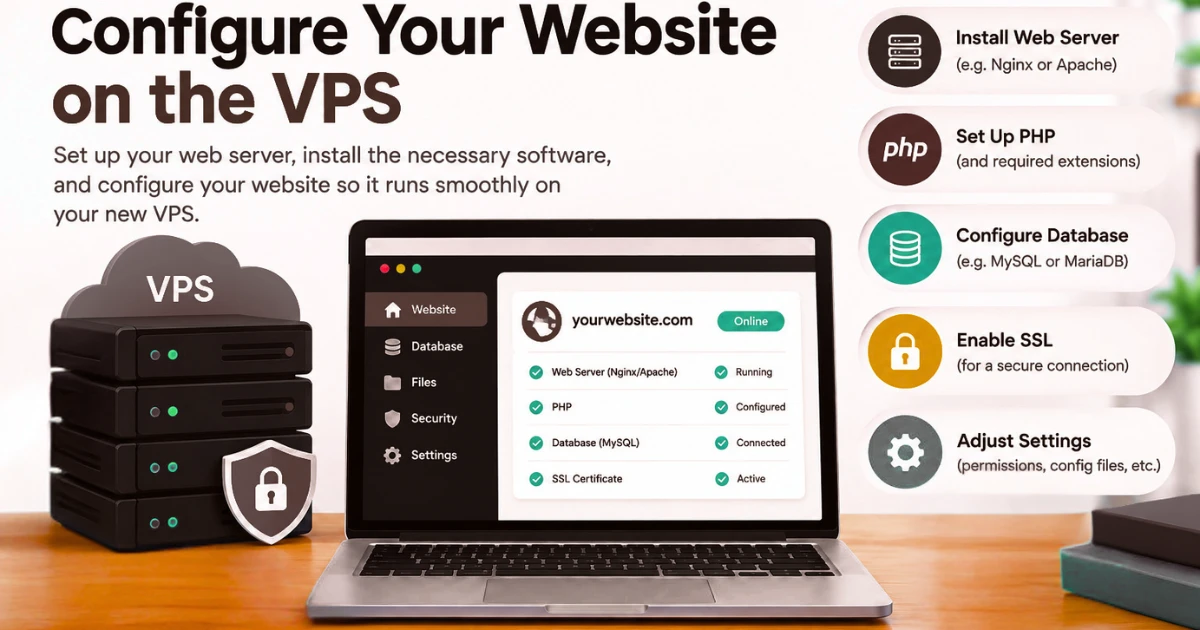
Transferring files and a database gets you most of the way there, but it doesn’t automatically make the website fully functional. There’s usually more setup involved:
- Setting up the domain on the VPS
- Configuring the web server
- Installing the correct PHP version for your application
- Installing any required PHP extensions
- Installing other application software your site depends on
- Configuring SSL for HTTPS
- Setting correct file permissions
- Recreating any cron jobs from the old server
- Recreating other relevant server-level settings
- Configuring redirects and rewrite rules where your site needs them
The goal is to make the new environment match what your website actually needs as closely as possible. Differences in PHP version, missing extensions, a different database version, or mismatched web server configuration are common causes of errors that show up right after migration, even when the files and database transferred perfectly.
Step 6. Test Your Website Before Changing DNS
This step matters more than any other single thing in this guide: test everything on the VPS before you touch DNS. Once DNS points to the new server, problems become visible to real visitors.
Check:
- Homepage
- Important landing pages
- Navigation
- Internal links
- Images
- CSS and JavaScript
- Forms
- User logins
- Contact features
- Plugins
- Applications
- Database-driven functionality
- Ecommerce functionality, if applicable
Also worth checking:
- HTTPS
- Redirects
- Canonical URLs
- Robots.txt
- XML sitemap
- Error pages
- Website source code, where relevant
You can test using a temporary domain, a hosts-file edit on your own computer, a staging environment, or whatever method fits your setup. There’s no single method that works for every situation, so pick whichever one you’re comfortable with, as long as it lets you see the site working on the new server before your domain actually points there.
Step 7. Point Your Domain to the VPS
Once testing confirms everything works, it’s time to move the domain itself. This usually means updating your domain’s A record to point to your VPS’s IP address, though the exact changes depend on how your domain and DNS are currently set up.
- Identify your VPS’s IP address
- Update the A record for your domain
- Check whether other DNS records need to stay as they are
- Preserve important email records
- Check CNAME, MX, TXT, and other records that might be affected
- Allow time for DNS changes to propagate
- Keep the old hosting account active during this transition
Changing an A record is not the same thing as changing nameservers, and which one you actually need depends on your current DNS configuration. Don’t delete existing DNS records without confirming what they’re actually doing first.
This matters especially for email: incorrect changes to MX or related records can interrupt email delivery even while the website itself loads perfectly fine. Google’s own guidance on changing web hosting without URL changes is a useful reference here too, since this exact scenario, same domain and URLs, new server, is specifically what that documentation covers.
Step 8. Monitor Your Website After Migration
The migration isn’t finished the moment DNS changes. Keep an eye on:
- Website accessibility
- Server resource usage
- Error logs
- Broken pages
- Missing files
- Database errors
- Forms
- Website performance
- SSL
- Redirects
- Search engine accessibility
If your website relies on search traffic, keep an eye on Google Search Console for indexing issues, crawl errors, page accessibility problems, security warnings, or unexpected shifts in search visibility. There’s no fixed number of days that guarantees you’re in the clear.
How long you should keep watching depends on your website’s complexity, traffic, and how your DNS is set up. Keep the old shared hosting account active until you are genuinely confident the migration succeeded, not just until the site loads once.
Common Mistakes to Avoid When Moving from Shared Hosting to VPS
1. Migrating without a complete backup. Back up both files and database, keep a separate copy, verify it’s actually complete, and don’t touch the original website until you’ve confirmed the new one works.
2. Choosing an inadequate VPS. Base your choice on CPU, RAM, storage, bandwidth, current traffic, application requirements, and realistic future growth. The most expensive plan isn’t automatically the right one, and neither is the cheapest.
3. Changing DNS before testing. Test thoroughly on the new server first, and keep the old hosting environment available throughout the transition rather than switching over on faith.
4. Forgetting website configuration. Moving files and a database isn’t the whole job. PHP versions, extensions, database credentials, file permissions, cron jobs, web server settings, SSL, and rewrite rules all need attention too.
5. Ignoring email and DNS records. Review MX records, SPF records, DKIM, DMARC, and any relevant CNAME records before changing DNS. Exactly which records matter depends on your email provider and current DNS setup, so check rather than assume.
6. Cancelling shared hosting too early. Keep the old account active until the VPS is working correctly, DNS has updated, website functionality and email have both been tested, and no major problems remain. Cancelling right after changing DNS removes your safety net before you actually know the migration worked.
FAQs
How long does it take to migrate a website from shared hosting to VPS?
There’s no single answer here. It depends on your website’s size, database size, how many websites you’re moving, VPS configuration, email setup, technical complexity, and which migration method you use. A small brochure site might take an afternoon. A larger ecommerce store with a big database and multiple integrations can take considerably longer.
Can my hosting provider migrate my website to a VPS for me?
Some hosting providers offer migration assistance or fully managed migration services, while others expect the customer to handle the process themselves. Check what’s actually included with your specific plan before assuming either way, since this varies quite a bit between providers.
Do I need technical knowledge to manage a VPS?
That depends on whether you choose managed or unmanaged VPS hosting. Unmanaged VPS hosting generally requires more knowledge of server administration, security updates, software installation, backups, troubleshooting, and monitoring. Managed VPS hosting shifts a lot of that responsibility to the provider, which can be worth it if you would rather focus on your website than the server underneath it.
What happens to my email when I move my website to a VPS?
Website hosting and email hosting can be, and often are, configured completely separately. Moving your website to a VPS doesn’t automatically mean your email has to move too. What matters is preserving the correct DNS records, especially MX records and email authentication records like SPF and DKIM, so mail keeps flowing wherever it’s actually hosted.
Do I need a control panel on my VPS?
No, a control panel is optional. You can manage a VPS entirely through the command line, or through a hosting control panel that gives you a graphical interface for common tasks. Command-line management gives you more direct control and typically uses fewer resources. A control panel is generally faster to learn and easier for day-to-day tasks if you’re not deeply comfortable in a terminal. Neither approach is universally better; it comes down to your comfort level and how much hands-on server work you expect to do.
Can I move multiple websites from shared hosting to one VPS?
Yes, as long as the VPS has enough resources and is configured properly to handle them. This depends on available CPU, RAM, storage, and bandwidth, along with how many sites you’re hosting, how complex each one is, their databases, their email requirements, and how much security isolation you want between them. The more websites you add to a single VPS, the more resource planning actually matters, so don’t assume a plan sized for one site will comfortably handle five.
Ready to Move Your Website to a VPS?
Moving from shared hosting to a VPS can give a growing website meaningfully more control, resources, and flexibility. The migration itself isn’t complicated in principle: prepare the VPS first, create complete backups, transfer files and databases carefully, configure the new environment properly, test everything before touching DNS, preserve your DNS and email records, keep the old hosting active during the transition, and keep monitoring after the switch.
Careful preparation matters far more than speed here. A migration that takes a day longer because you tested thoroughly beats one that’s fast but leaves broken email or missing pages behind. If you’re also reviewing your domain and DNS setup or need SSL configured on the new server, it’s worth handling those as part of the same migration rather than as an afterthought. And if your site runs on WordPress specifically, WordPress hosting built around that platform can simplify some of the configuration steps covered above.
Upgrade Your Website to a VPS with Truehost Pakistan