Domain SearchInstantly check and register your perfect .pk or international domain
 Web HostingGet a .pk domain for as low as PKR 467
 cPanel HostingUser-friendly hosting powered by cPanel
 Reseller HostingLaunch your own hosting business with minimal technical requirements
 Windows HostingOptimized for Windows-based applications and websites
 Affiliate ProgramEarn referral commissions by promoting our services
 WordPress HostingFast & Reliable WordPress Hosting
 Domain TransferMigrate your existing domain seamlessly with zero downtime.
 All DomainsAccess 324+ top-level domains (TLDs) worldwide from a single platform
 Whois LookupIdentify the owner of any domain using our whois and rdap lookup tool
 Managed VPS Hosting
 AI Website BuilderCreate beautiful websites effortlessly using intuitive drag-and-drop features
 Online ShopLaunch a professional online shop with no technical skills required
 BlogDiscover expert guides on hosting, websites, SEO, and digital growth strategies
 ContactGet instant assistance via live chat or email
 SupportAccess help articles, tutorials, and service documentation
 SSL CertificatesEncrypt data, build trust, and boost SEO.
Moving from cPanel to Control Web Panel (CWP) can lower hosting costs and give you more control over a VPS or dedicated server. The migration can carry over website files, databases, domains, email accounts, DNS records, FTP accounts, cron jobs, and SSL certificates. Some settings will probably still need to be reconfigured afterward.
You have two routes. CWP’s migration tools are faster, and a manual move is the fallback when the automated option doesn’t suit your setup. This guide covers both, along with testing, the DNS cutover, and the mistakes that most often cause trouble.
Prepare Before the Migration
Check your access
You will need:
Root or admin access to the new CWP server
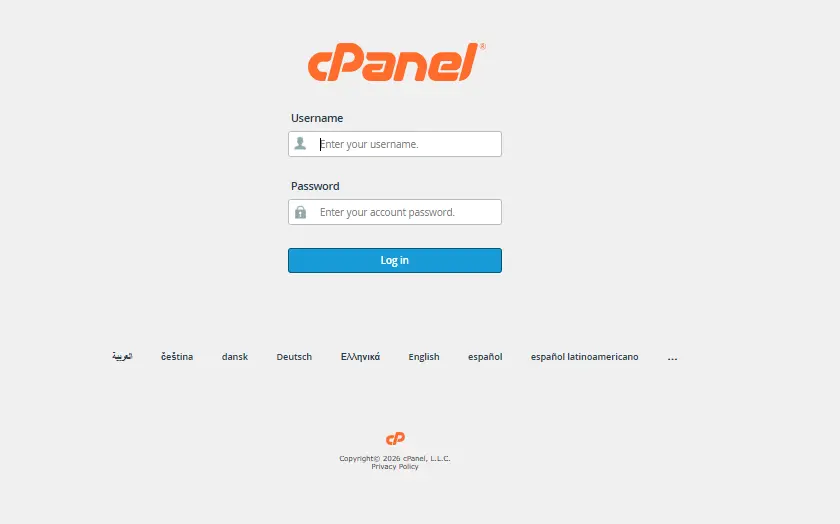
Access to the old cPanel account
Access to your domain registrar and DNS settings
CWP’s own guidance for the automated route also assumes root access to both servers.
Inventory the old cPanel account
Write down everything the account contains, so you can check it off after the move:
- Domains and subdomains
- Website files
- Databases
- Email accounts, forwarders, and filters
- DNS records
- Cron jobs
- SSL certificates
- PHP version and extensions
- .htaccess rules
This list is your test plan later. Anything you didn’t record is easy to forget and slow to diagnose.
Back up everything
Create a full cPanel backup before you touch anything. Keep the old server running until the new site has been fully tested. It is your rollback plan.
Plan the DNS change
If your DNS provider allows it, lower the TTL on your records a day or two ahead, so the later switch propagates quickly. Do not change the domain’s DNS until the new server is ready and tested.
Set Up the New CWP Server
A clean foundation avoids most later problems.
Use a supported operating system. CWP requires a clean, minimal install of a supported OS. The official installation page recommends AlmaLinux 8 or 9 as the stable choice. CentOS 7 and Oracle Linux are also listed, but AlmaLinux is preferred.
Size the server properly. CWP’s stated minimum is 2 GB of RAM on a 64-bit system, with 4 GB or more recommended for heavier features such as real-time email antivirus scanning. Some third-party guides quote lower figures, but treat those with caution on a production server. Also leave enough disk space for the uploaded backup plus the restored site, which temporarily doubles your storage needs.
Install on a fresh machine. CWP needs a server with no web servers or control panels already installed. Removing CWP after installation requires reinstalling the operating system, so be sure before you commit.
Then configure the basics:
- Set the correct hostname and IP address.
- Complete the initial CWP settings.
- Install the PHP version and extensions your site needs. Match the version to what the old cPanel account used.
- Set up SSL and any other required services.
One caution on creating the website account: don’t create it ahead of time if you plan to use the migration tool. That is covered under common mistakes below.
Move the Website From cPanel to CWP
Option 1: Use CWP’s migration tool
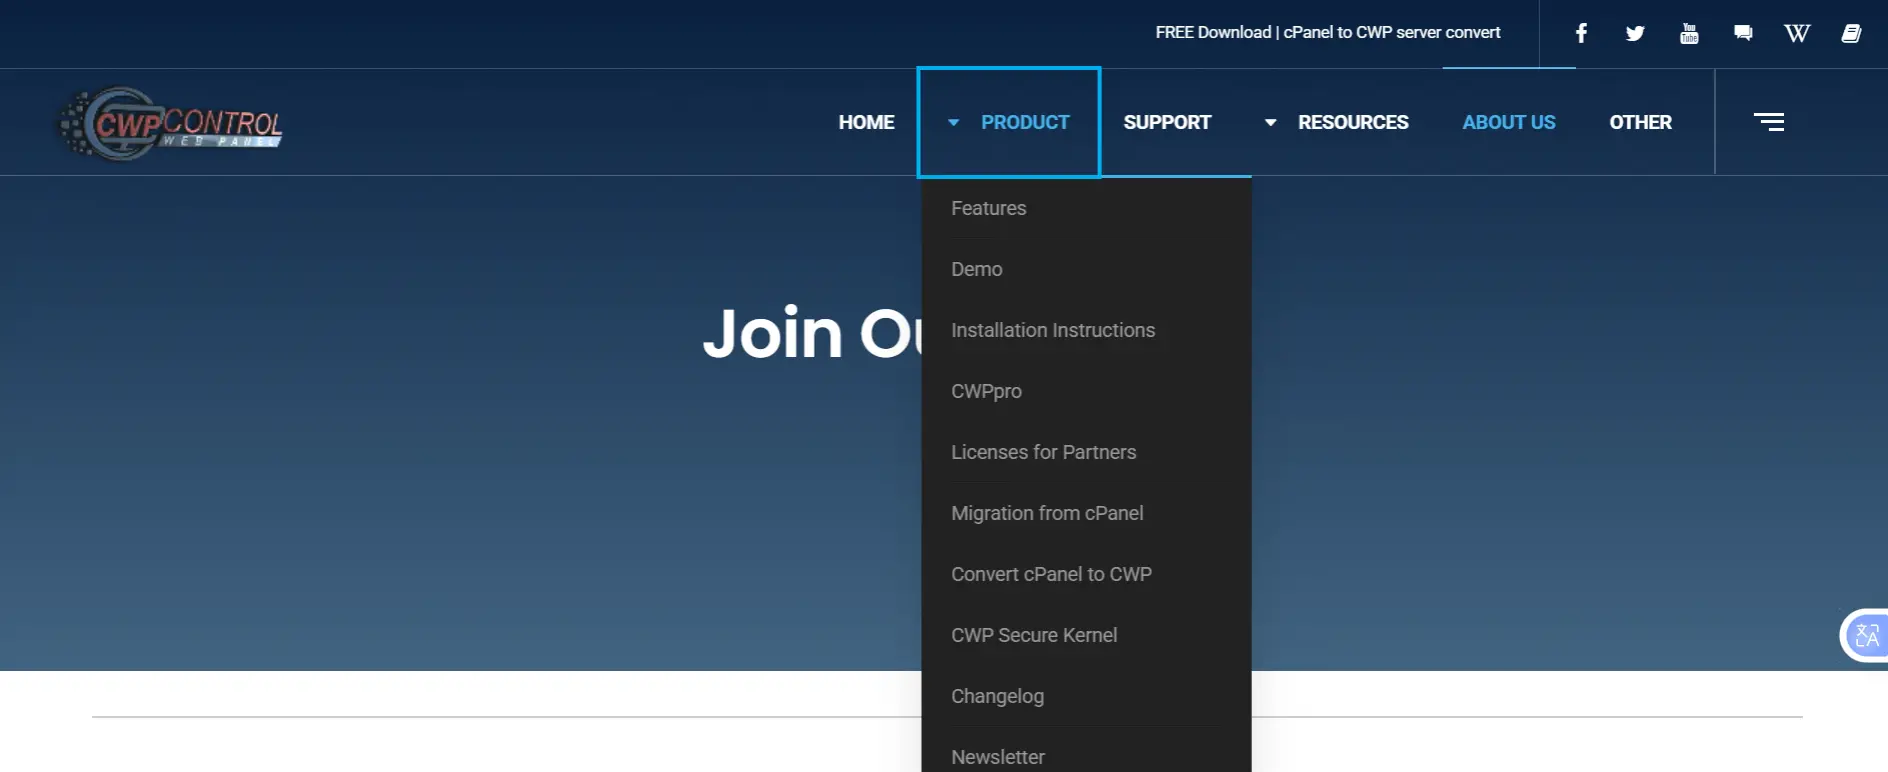
This is the easiest route when you have the required server access. In the CWP admin panel, the tool lives under User Accounts, then cPanel→CWP Migration.
- Open the migration tool in the CWP admin panel.
- Enter the old cPanel server’s details. Before connecting, allow each server’s IP address in the other server’s firewall. Both directions need to be whitelisted.
- Connect to the cPanel server.
- Select the account you want to move.
- Start the migration.
- Monitor it until it finishes.
If the connection test fails, a firewall on one of the servers is the usual cause. One long-running community thread reports that setting up passwordless SSH from the CWP server to the cPanel server resolved a “Connection not reached” error.
Depending on your setup, the tool can move website files, databases, email, domains, FTP accounts, cron jobs, and DNS settings.
Check the migrated account carefully when it finishes. Don’t assume every setting behaves exactly as it did on cPanel. After the run, open CWP’s account list and confirm each account restored properly. Re-run the migration for any account that failed.
Option 2: Move the website manually
Use this when the migration tool doesn’t work, or you only need to move one site.
Step 1: Back up the cPanel account
Create a full backup, then download or transfer it to the new server. You can generate it from cPanel itself or, with root access, from the command line. Hosting engineers commonly use the /scripts/pkgacct command on the cPanel server and copy the archive across with scp.
CWP’s restore tool also accepts cPanel full-backup archives directly. You can place the backup in the /home directory of the CWP server, then pick it from the dropdown in the cPanel Migration page and restore it. Archive names typically follow the cpmove-username.tar.gz pattern, so check that yours matches.
Step 2: Move the website files
- Copy public_html and any other required files.
- Include hidden files such as .htaccess, which are easy to miss with a drag-and-drop transfer.
- Check file ownership and permissions after the transfer. Wrong ownership is a common cause of 403 and 500 errors.
Step 3: Move the database
- Export the database from cPanel.
- Create a database and user in CWP.
- Import the database.
- Update the site’s configuration if the database name, user, or password changed.
For WordPress, the details live in wp-config.php. Database names and users often change between panels, because cPanel enforces account-name prefixes and CWP is more flexible, so don’t assume the old values will work.
Step 4: Move email
- Recreate the email accounts in CWP.
- Move existing mail data if you need to keep it.
- Recreate forwarders and filters.
- Check the MX records.
Step 5: Recreate the other settings
Go through the rest of your inventory: cron jobs, FTP accounts, redirects, DNS records, and SSL certificates.
Test the Website Before Changing DNS
Check the new site carefully before sending visitors to it. A practical way is to preview it by editing your local hosts file to point the domain at the new server’s IP, so you see the new site while everyone else still sees the old one.
Functional checks
- Homepage and inner pages
- Images and downloads
- WordPress login
- Contact forms
- Database-driven features
- Links and redirects
- .htaccess rules
- PHP version and extensions
- SSL/HTTPS
- Sending and receiving email
Errors to look for
- 404 errors
- 403 errors
- 500 errors
- Missing images
- Database connection errors
- Broken redirects
If a page fails, the server’s error logs will usually tell you why, whether that’s a missing PHP extension, a wrong file permission, or a bad rewrite rule.
Point the Domain to the New CWP Server
Once everything works, switch traffic in one of two ways:
- Update the domain’s A record to the new server’s IP, or
- Change the nameservers, if CWP will manage the domain’s DNS.
Then confirm the website loads from the new server, and allow time for the change to propagate. Keep the old cPanel server online during this period, because some visitors will still reach it until their DNS caches expire.
Check Email and DNS
DNS changes are where email quietly breaks, so verify these once the switch is made:
- Email is being received
- Email can be sent
- MX records are correct
- SPF is working
- DKIM is working
- DMARC is configured, if you use it
- All important DNS records are present
DKIM keys are server-specific, so a new server may generate different keys than the old one. Compare your old zone file against the new one record by record, so nothing like a verification TXT record gets lost.
Final Checks After Migration
- Confirm the website works normally.
- Check SSL and HTTPS.
- Check that cron jobs are running.
- Check that backups are configured and working.
- Check website speed and server resource use.
- Monitor the site for errors over the following days.
- Keep the old cPanel account until you’re sure everything moved successfully.
Common Migration Mistakes to Avoid
Using different server versions. Differences in OS, PHP, or MySQL versions can cause problems after migration. Match your PHP version to the old account’s before you test.
Creating the account too early. Follow CWP’s migration process instead of creating the account beforehand, as the tool requires. One hosting support team documented a failed migration caused by exactly this, and fixed it by deleting the pre-created account from User Accounts → List Accounts and re-running the migration.
Changing DNS too soon. Test the website on the new server before pointing the domain to it.
Running out of disk space. Make sure there’s room for both the backup and the migrated website.
Assuming everything is free. CWP Free doesn’t include every advanced feature, and some require CWP Pro. InMotion Hosting’s comparison lists the cPanel-to-CWP migration tools among the Pro features, and notes the free version allows only ten user accounts. Pricing and feature lists change, so check the current licensing details on CWP’s site before you plan around them.
Ready to Complete Your Migration on VPS Hosting?
Moving from cPanel to CWP is manageable when you take it in order: inventory the old account, build the new server on a supported operating system, migrate with CWP’s tool or by hand, test thoroughly, and only then switch DNS. Most migration problems come from skipping one of those steps, usually testing or the DNS timing.
Your new server counts as much as the process. CWP runs on a VPS or dedicated server, so you need a plan with root access, a clean OS install, and enough RAM and storage to run CWP comfortably alongside your websites. A server that is too small is a common reason a new CWP setup runs slowly.
If you’re still choosing where to host, check the VPS hosting plans at Truehost. Pick a plan that fits your site’s traffic and resource needs, install CWP on a fresh AlmaLinux server, and follow the steps in this guide to bring your website over. Keep your old cPanel account running until you’ve confirmed that everything works, and you’ll finish with a faster, more flexible setup that you control.