Domain SearchInstantly check and register your perfect .pk or international domain
 Web HostingGet a .pk domain for as low as PKR 467
 cPanel HostingUser-friendly hosting powered by cPanel
 Reseller HostingLaunch your own hosting business with minimal technical requirements
 Windows HostingOptimized for Windows-based applications and websites
 Affiliate ProgramEarn referral commissions by promoting our services
 WordPress HostingFast & Reliable WordPress Hosting
 Domain TransferMigrate your existing domain seamlessly with zero downtime.
 All DomainsAccess 324+ top-level domains (TLDs) worldwide from a single platform
 Whois LookupIdentify the owner of any domain using our whois and rdap lookup tool
 Managed VPS Hosting
 AI Website BuilderCreate beautiful websites effortlessly using intuitive drag-and-drop features
 Online ShopLaunch a professional online shop with no technical skills required
 BlogDiscover expert guides on hosting, websites, SEO, and digital growth strategies
 ContactGet instant assistance via live chat or email
 SupportAccess help articles, tutorials, and service documentation
 SSL CertificatesEncrypt data, build trust, and boost SEO.
You have built your website over several years, earned backlinks, published dozens of articles, and finally decided that your current domain no longer fits the business. Maybe you rebranded. Maybe you picked a domain extension you regret. Maybe your business name changed entirely.
Now you’re staring at one question: will changing your domain make you lose your Google rankings?
Changing a domain does not automatically mean losing your SEO rankings. But the migration needs to be handled carefully, step by step, with nothing left to guesswork.
Some temporary ranking fluctuations can happen even with a well-planned move. That’s normal. Careful planning is what keeps those fluctuations small instead of turning into a traffic collapse.
Ready to make the move without gambling on your rankings? Start by locking in your domain registration, then work through the steps below before you touch anything else on the old site.
Before You Change Your Domain Name
Before changing your domain name, make sure you have the following in place:
- Choose a domain that matches your brand, is easy to spell, and is memorable. Check the domain extension, potential trademark issues, and whether the name will still suit your business in the long term. Use a domain name search to check availability.
- Record your website’s current performance before making any changes. Take note of:
- Your most important pages
- Current URLs
- Organic traffic
- Keyword rankings
- Top-performing pages
- Backlinks
- Internal links
- XML sitemap
- Robots.txt file
- Canonical URLs
- Existing redirects
- Keep your existing URL paths wherever possible. For example, if your current page is
olddomain.com/about-us, usenewdomain.com/about-usinstead of changing the page structure during the migration. - Avoid making several major changes at once. If possible, change the domain first and leave redesigns, URL restructuring, or other major updates for later. This makes it easier to identify and fix problems.
- Expect some temporary changes in traffic and rankings while search engines crawl and index your new URLs. Be prepared to monitor organic traffic, rankings, indexing, redirects, and broken links after the migration.
- A domain change needs ongoing attention after launch. Check your website regularly, fix broken links and redirect problems, and monitor your SEO performance until the migration has settled.
Step-by-Step: Changing Your Domain Without Losing Rankings

Step 1: Register the New Domain and Set Up Hosting
Purchase your new domain and connect it to your website hosting account. Registering for a longer period upfront, rather than just one year, is generally seen as a stronger signal.
Before moving on, check:
- Hosting configuration
- SSL certificate
- Your CMS installation, if you’re on WordPress or similar
- DNS records
- Email setup
- General site accessibility
Get the new site fully functional here before you touch the old domain.
Step 2: Back Up Your Current Website
Create a full backup before making any changes. If your hosting runs on cPanel, this is straightforward:
- Log in to cPanel and open the Files section, then select Backup Wizard
- Choose Full Backup to capture your files, databases, and email in a single package
- Save the backup to your home directory so you can download it afterward
- Once it’s generated, download the archive to your computer and store a copy somewhere separate, such as an external drive or cloud storage
It’s also worth exporting your database on its own through phpMyAdmin, even if you already back up through a plugin. Having more than one copy costs you nothing and saves you a lot if anything goes wrong mid-migration.
Step 3: Set Up the New Site on Your Hosting Account
Create a separate space on your hosting account for the new domain before you start moving content across. In cPanel, this usually means adding it as an Addon Domain under the Domains section, which gives it its own independent folder.
This lets both domains sit on the same hosting package without interfering with each other, which is exactly what you want during a clean migration.
If you registered the new domain through Truehost, it typically points to your hosting automatically once added. If it’s registered somewhere else, you’ll handle the nameservers or A records in a later step.
Step 4: Move Your Website Content to the New Domain
For WordPress sites, a migration plugin makes this considerably easier. Tools built for full-site migration can package your files and database together and move them across with far less manual work.
The general process looks like this:
- Install a migration plugin on the old site and generate a full site package
- Create a fresh database on the new domain’s hosting and note its name, username, and password
- Upload the package to the new domain’s folder and run the installer
- Use the built-in search-and-replace step to swap every old domain reference for the new one
- Remove any installer files once the process finishes, for security
If you’d rather do it manually, you can copy the files across through File Manager or FTP, export and import the database through phpMyAdmin, and update your configuration file with the new database details. Either way, test the cloned site on a temporary URL before pointing anything live at it.
Step 5: Update Internal Links and Technical References
Go through the site and swap every internal reference from the old domain to the new one:
- Navigation menus
- Blog posts
- Service pages
- Product pages
- Footer links
- Images
- Buttons
- Breadcrumbs
Update your canonical tags through your SEO plugin so search engines know which version of each page is the correct one, and generate a fresh XML sitemap built only from the new domain’s URLs.
A search-and-replace tool can speed this up considerably, letting you swap every instance of the old domain for the new one across your database in one pass. Back up your database first regardless of which tool you use.
Step 6: Point the New Domain at Your Website
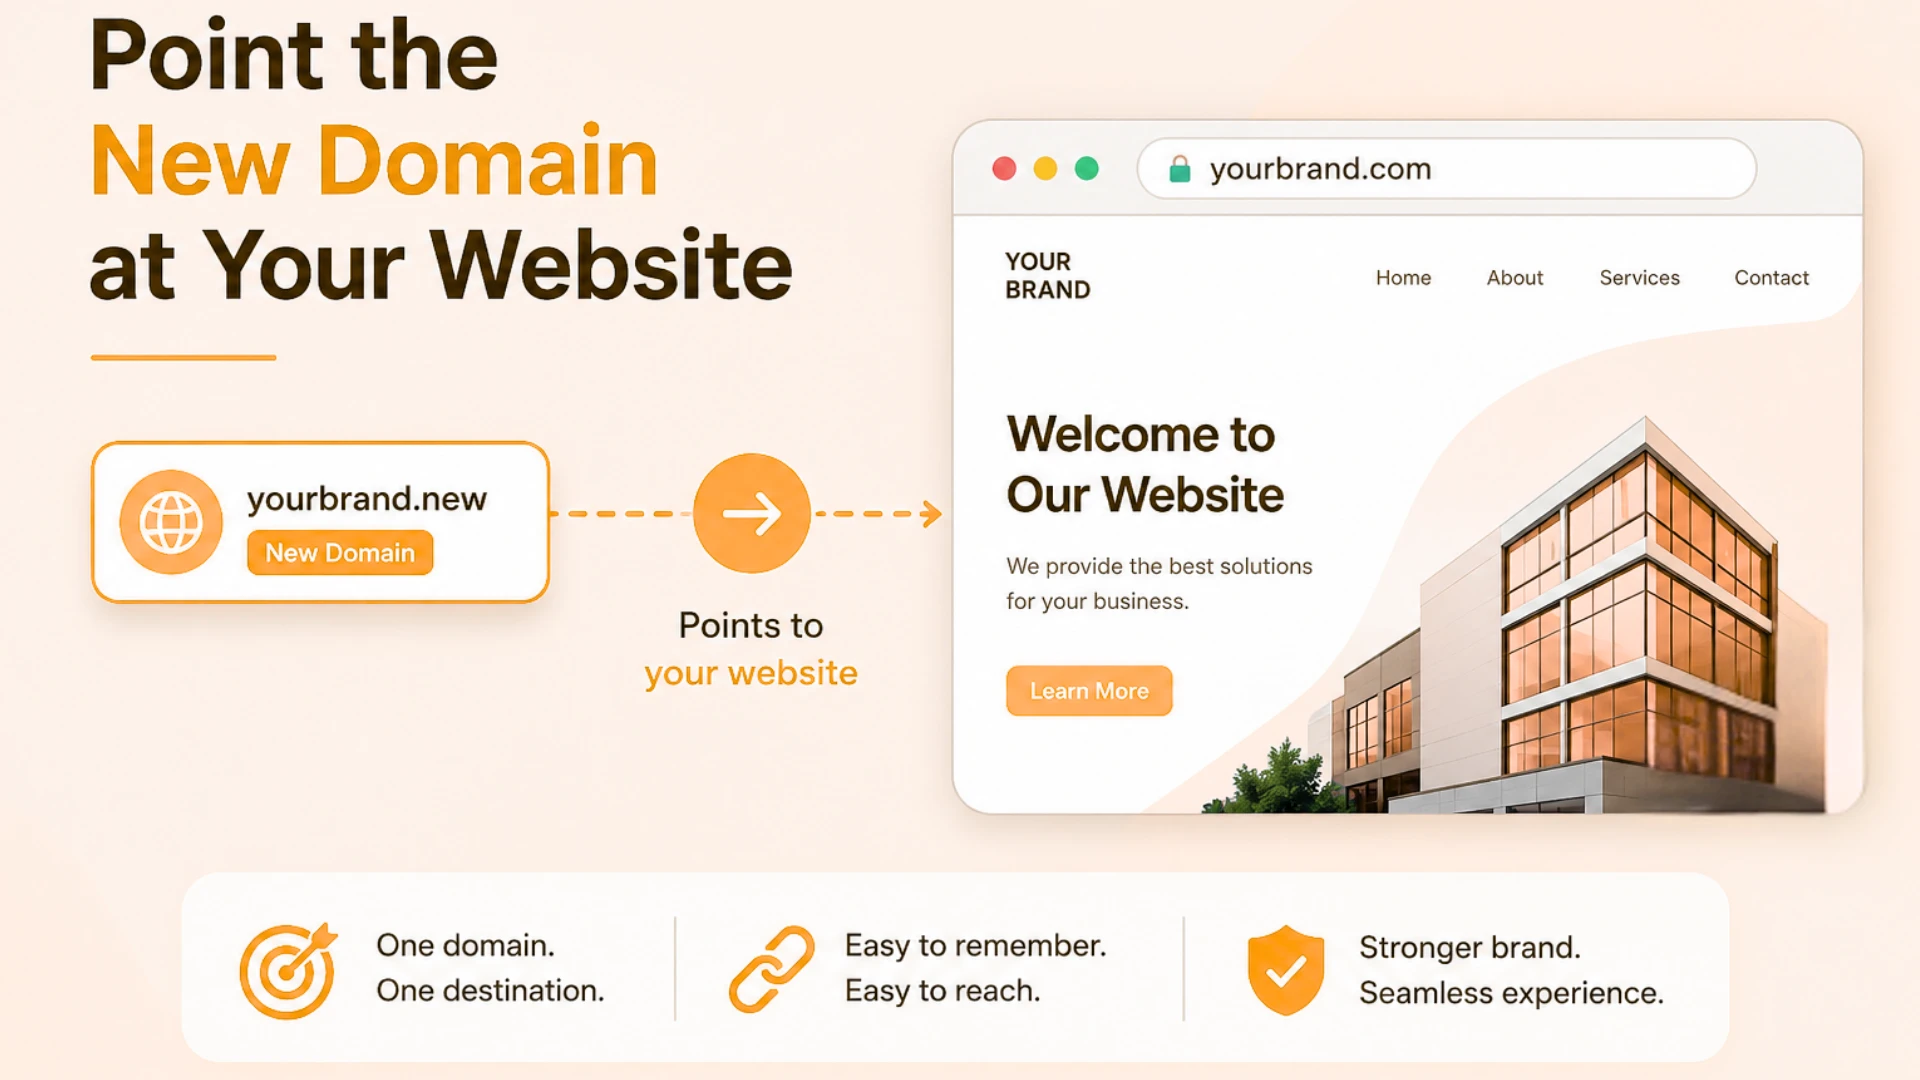
If the domain was registered through the same host as your website, it will often connect automatically once it’s set up as described in Step 3.
If it was registered somewhere else, you’ll need to update the nameservers at the registrar to match your hosting provider’s, or add A records pointing to your server’s IP address. Either detail is usually available in your hosting account or your welcome email. If you’re moving the domain itself between providers, checking domain transfer requirements first will save you a headache.
DNS changes can take anywhere from a few minutes to around 48 hours to fully spread, so give it time before assuming something’s wrong.
Step 7: Set Up 301 Redirects
This is the single most important technical step in the whole process. A 301 redirect tells search engines and visitors that a page has permanently moved, and it’s how most of your existing ranking signals carry across.
In cPanel, this usually means going to Domains, then Redirects, selecting Permanent (301), choosing the old domain, and pointing it at the matching new domain address. For more granular control over individual pages rather than the whole site, you can edit the .htaccess file directly.
Keep these redirects live for at least six to twelve months. That gives Google enough time to fully associate the old pages with their new locations. Google’s own guidance on site moves covers the technical side of this in more depth.
Step 8: Test the New Site Thoroughly
Before you consider the migration finished, check:
- Homepage and key landing pages
- Every internal link
- Forms and contact details
- Images and media
- Navigation and menus
- Mobile experience
- SSL certificate status
- Page loading speed
- Redirect behaviour on several old URLs
- Mixed-content warnings
Run the site through a speed testing tool and fix anything that stands out. If you sell online, also check your product pages, cart, checkout, and order notifications.
Step 9: Notify Google and Other Search Engines
Once redirects are live, update Search Console:
- Add and verify the new domain as a property
- Use the change-of-address process from the old property’s settings, pointing it to the new one
- Submit the fresh XML sitemap
- Watch the crawl errors and index coverage reports over the following weeks
If you use Bing Webmaster Tools, repeat the same steps there. You can read Google’s own Search Console help documentation for the exact process.
Step 10: Update Analytics and Tracking Tools
Update every tool that watches your site’s performance:
- Google Analytics
- Google Tag Manager
- Any advertising pixels
- Heatmap or behaviour tracking tools
- SEO monitoring tools
- Email marketing platforms
Getting this in place before the migration, rather than after, is what gives you a clean comparison between before and after. Google’s Analytics help center walks through updating your property settings if you need it.
A Few More Things Worth Doing
- Update the backlinks you can. You won’t be able to reach everyone, but for your highest-value backlinks, directories, and partner sites, a polite message asking them to update the link speeds up the recovery.
- Check in daily for the first few weeks. Watch traffic, rankings, and crawl reports closely, and fix broken redirects or 404s as soon as you spot them rather than letting them sit.
- Don’t let the old domain lapse. Keep it registered and keep the redirects running for as long as recommended. Letting the registration expire early cuts the whole migration off before it’s finished doing its job.
- Consider your email addresses too. If you have mailboxes on the old domain, set up forwarding or migrate them across, and let clients and subscribers know about the change.
Frequently Asked Questions
Should I change my domain name or start a new website?
If your existing website already has useful content, backlinks, traffic, and authority, a carefully planned domain migration is usually the better move over starting completely from scratch.
Can I change my domain name without changing my hosting?
Yes, they’re separate processes. You can often keep the same WordPress hosting provider while changing your domain, as long as the setup supports the new domain.
What should I do if my rankings drop after changing domains?
Check, in order: 301 redirects, redirect chains, 404 errors, indexing status, canonical URLs, XML sitemap, robots.txt, internal links, Search Console issues, and server or website accessibility. Investigate a sudden drop rather than assuming the domain change caused permanent damage.
How Long Does It Take to Recover Rankings After a Domain Change?
There’s no fixed recovery period. Search engines need time to crawl, process, and index your new URLs, and that timeline depends on:
- Website size
- Number of URLs
- Crawl frequency
- Quality of your redirects
- Website structure
- Number of backlinks
- Technical issues
- How well the migration itself was carried out
Temporary fluctuations are common. A properly planned migration should minimize unnecessary losses, but no one can honestly promise that your rankings will look identical right after a domain change.
What Happens to SEO When You Change Your Domain Name?
Search engines need to understand that your old URLs have permanently moved to new URLs. That’s the whole job of a domain migration, from an SEO standpoint.
Here’s a simple example:
oldwebsite.com/services moves to newwebsite.com/services
Google has to discover the new URLs, process the redirects, and confirm that the old pages have genuinely moved rather than disappeared. That takes time, and during that window a few things can happen:
- Temporary ranking fluctuations
- Changes in organic traffic
- Re-crawling and re-indexing of your pages
- Loss of traffic if redirects are missing
- Reduced backlink value if old URLs aren’t redirected
- Broken links and missing pages
The domain change itself is rarely the real risk. An incomplete or rushed migration is what actually causes damage.
Ready to Change Your Domain Name?
Changing a domain doesn’t mean starting your SEO efforts from zero. A careful migration gives search engines clear signals about exactly where your website has moved.
Here’s the short version:
- Register your new domain.
- Back up your existing website.
- Audit the old domain.
- Map old URLs to new URLs.
- Set up 301 redirects.
- Update internal links.
- Update your XML sitemap.
- Add and verify the new domain in Google Search Console.
- Update analytics and other tools.
- Update important backlinks.
- Test the new website.
- Monitor traffic, rankings, indexing, and errors.
If you’re planning a domain migration, check into SSL certificates and domain transfer options before you begin, so the technical side is ready before you flip the switch.